The Power of Precision
In molecular biology, tiny volumes matter. A few microliters can decide whether an experiment succeeds or fails. From preparing DNA samples to setting up PCR reactions, accuracy in measurement is not just a best practice—it’s a fundamental requirement for reliable scientific discovery. Understanding the tools and techniques for precise measurement forms the bedrock of all successful lab work.
In molecular biology, tiny volumes matter. A few microliters can decide whether an experiment succeeds or fails.
The Metric Ladder: Navigating Units
The metric system is built on predictable steps, making it an ideal framework for scientific measurements. Whether you are measuring volume in liters or weight in grams, the prefix order is consistent, allowing for easy conversion between different scales.
The most common prefixes you’ll encounter in the lab are milli, micro, and nano. Each step represents a power of one thousand:
- Milli (m): 10-3 (one thousandth)
- Micro (µ): 10-6 (one millionth)
- Nano (n): 10-9 (one billionth)
Moving one step smaller (e.g., from milliliters to microliters) multiplies by one thousand. Conversely, moving one step larger (e.g., from nanograms to micrograms) divides by one thousand.
In laboratory settings, common metric prefixes like milli (m), micro (µ), and nano (n) denote factors of 10-3, 10-6, and 10-9, respectively. Understanding these prefixes is crucial for accurate unit conversions in scientific calculations.
Think about a common household measurement like a liter. How many milliliters are in a liter, and how does that relate to the metric ladder?
Volume Conversions: From Macro to Micro
Applying the metric ladder logic, converting volumes becomes straightforward. For example:
- One milliliter (mL) equals one thousand microliters (µL).
- One microliter (µL) equals one thousand nanoliters (nL).
Once you know the direction of the conversion (moving to a smaller unit or a larger unit), the math becomes simple: multiply or divide by one thousand for each step.
Many students mistakenly multiply or divide by 10 or 100 when converting metric prefixes, forgetting the “thousand-fold” rule in scientific contexts like milli, micro, and nano.
When moving between milli-, micro-, and nano- units, each step represents a factor of 1,000. Always multiply when moving to a smaller unit and divide when moving to a larger unit.
Pipette Selection: Tools for Tiny Volumes
Working with such small volumes requires specialized tools: micropipettes. These instruments are designed to accurately measure and transfer liquid volumes in the microliter range. However, no single pipette can handle the entire range of volumes you’ll need in a metagenomics lab.
Different pipettes are designed for different ranges to ensure optimal accuracy and precision:
- P10: Handles very small volumes (typically 0.5–10 µL).
- P20: Goes slightly higher (typically 2–20 µL).
- P200: Covers intermediate volumes (typically 20–200 µL).
- P1000: Handles the largest volumes commonly used in this course (typically 100–1000 µL, or 1 mL).
Selecting the correct pipette for your desired volume is critical for maintaining accuracy and preventing damage to the instrument.
Micropipettes are calibrated regularly to maintain their accuracy. This involves using a precise balance and distilled water to confirm that the dispensed volume matches the dial setting, typically done by weighing the water (since 1 µL of water weighs approximately 1 mg).
Micropipettes are specialized tools for precise liquid handling. Common models like the P10, P20, P200, and P1000 are designed for specific, non-overlapping volume ranges (e.g., P10 for 0.5-10µL, P1000 for 100-1000µL) to ensure optimal accuracy and reduce measurement error.
Mastering Pipetting Technique
Good pipetting is controlled, repeatable, and requires careful attention to detail. Proper technique ensures that the exact volume is drawn and dispensed every time, minimizing experimental variability.
While we can’t provide a real pipette, visualize these steps to internalize the correct technique. If you have access to a lab, practice with water!
- Set the Dial: Carefully rotate the volume adjustment dial to your desired volume. Always ensure you are within the pipette’s specified range.
- Attach a Tip: Firmly press the pipette barrel onto a clean, sterile disposable tip. Ensure it forms an airtight seal.
- Press to First Stop: Before entering the liquid, press the plunger down to the first stop. This is the point where you feel initial resistance.
- Enter the Liquid: Immerse the tip slightly into the liquid (about 1-2 mm). Avoid going too deep or touching the bottom of the container.
- Slowly Release: Slowly release the plunger to draw the sample into the tip. Releasing too quickly can cause splashes or air bubbles, leading to inaccurate volumes.
- Move to Receiving Tube: Withdraw the tip from the liquid and move it to the receiving tube. Avoid touching the sides of the tip to the container you just removed it from.
- Press to Second Stop: To dispense the liquid, press the plunger down smoothly through the first stop, all the way to the second stop. This expels any residual liquid.
- Remove Tip Before Releasing: While still holding the plunger at the second stop, carefully remove the tip from the receiving tube. Only then should you release the plunger. This prevents drawing dispensed liquid back into the tip.
- Eject Tip: Use the tip ejector button to discard the used tip into an appropriate waste container.
- The metric system uses consistent prefixes (milli, micro, nano) for predictable conversions.
- Micropipettes come in specific ranges (P10, P20, P200, P1000) for optimal accuracy.
- Mastering the multi-step pipetting technique is crucial for controlled and repeatable liquid handling.
Why is it important to press through to the second stop when dispensing liquid, and why must the tip be removed before releasing the plunger?
The Weight Connection: Calibrating for Accuracy
Volume and weight connect in a useful way, especially when working with aqueous solutions. For practical purposes in the lab, one milliliter of water weighs about one gram (at standard temperature and pressure). This simple relationship provides a powerful method for verifying the accuracy of your pipettes.
By dispensing a known volume of water (e.g., 100 µL) onto a balance and weighing it (which should read approximately 0.1 g or 100 mg), you can quickly test whether a pipette is delivering accurately. If the measured weight deviates significantly from the expected weight, the pipette may need recalibration or repair.
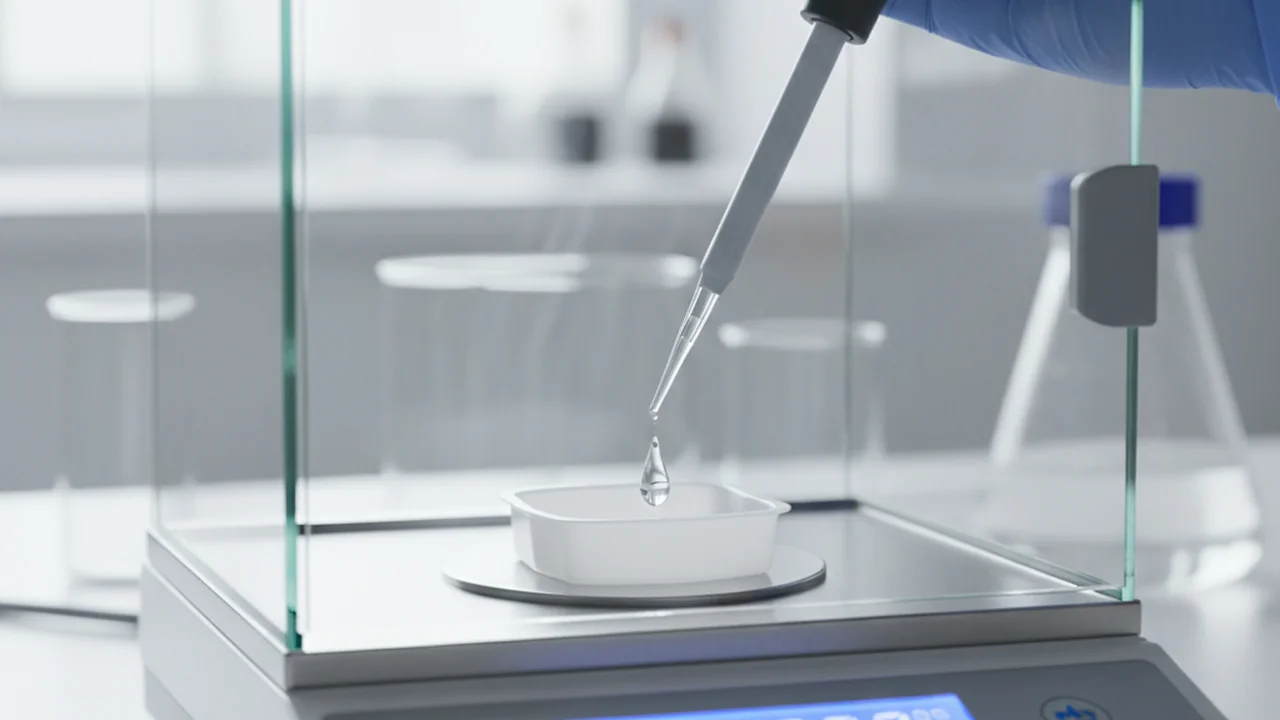
In many regulated labs, pipettes undergo regular calibration checks, often using gravimetric methods (weighing water), to comply with quality control standards and ensure the integrity of experimental data.
Want to go deeper? The Science Behind Density and Pipette Calibration
The “1 mL of water weighs 1 g” rule is a simplification based on water’s maximum density at 4°C. In reality, water’s density varies slightly with temperature. For highly precise calibration, laboratory balances are often placed in temperature-controlled environments, and density correction factors are applied based on the ambient temperature and atmospheric pressure. This ensures that the gravimetric measurement truly reflects the dispensed volume, accounting for subtle changes in water’s density.
Practice Makes Perfect
Before moving on to more complex procedures, it’s essential to solidify your understanding of unit conversions and pipette selection. These foundational skills will reappear in almost every subsequent lab technique, including DNA extraction, PCR, and library preparation.
You need to measure 0.05 milligrams (mg) of a substance. How many nanograms (ng) is this?
Which micropipette (P10, P20, P200, P1000) would be most appropriate for accurately transferring a volume of 150 microliters (µL)?
Reflect on a time when precision (or lack thereof) significantly impacted an outcome in your experience, whether in a scientific context or everyday life. How might the principles of metric conversion and accurate pipetting apply to that situation?
The metric system’s consistent thousand-fold steps between milli, micro, and nano prefixes are fundamental for accurate unit conversions in all laboratory measurements.
Mastering correct micropipette selection and a controlled, repeatable pipetting technique is essential for achieving the precision required for successful molecular biology experiments.