How do specific enzymatic reactions and meticulous cleanup steps transform raw DNA into a sequencing-ready library, and why is each stage critical for successful metagenomic analysis?
Before any sequencing instrument can unravel the genetic mysteries within your samples, the DNA must undergo a crucial transformation: library preparation. Think of it like preparing a book for a library; it needs a cover, a spine, and a clear organization system before it can be shelved and read efficiently. Without this essential prep work, raw extracted DNA fragments are simply unreadable to sequencing platforms.
Specifically for Oxford Nanopore sequencing, this preparation involves several enzymatic reactions and purification steps that attach specialized adapters, allowing the DNA to thread through the nanopores and generate readable signals. Let’s delve into the precise protocol that makes this molecular magic happen.
Initial Processing: End Repair and dA-Tailing
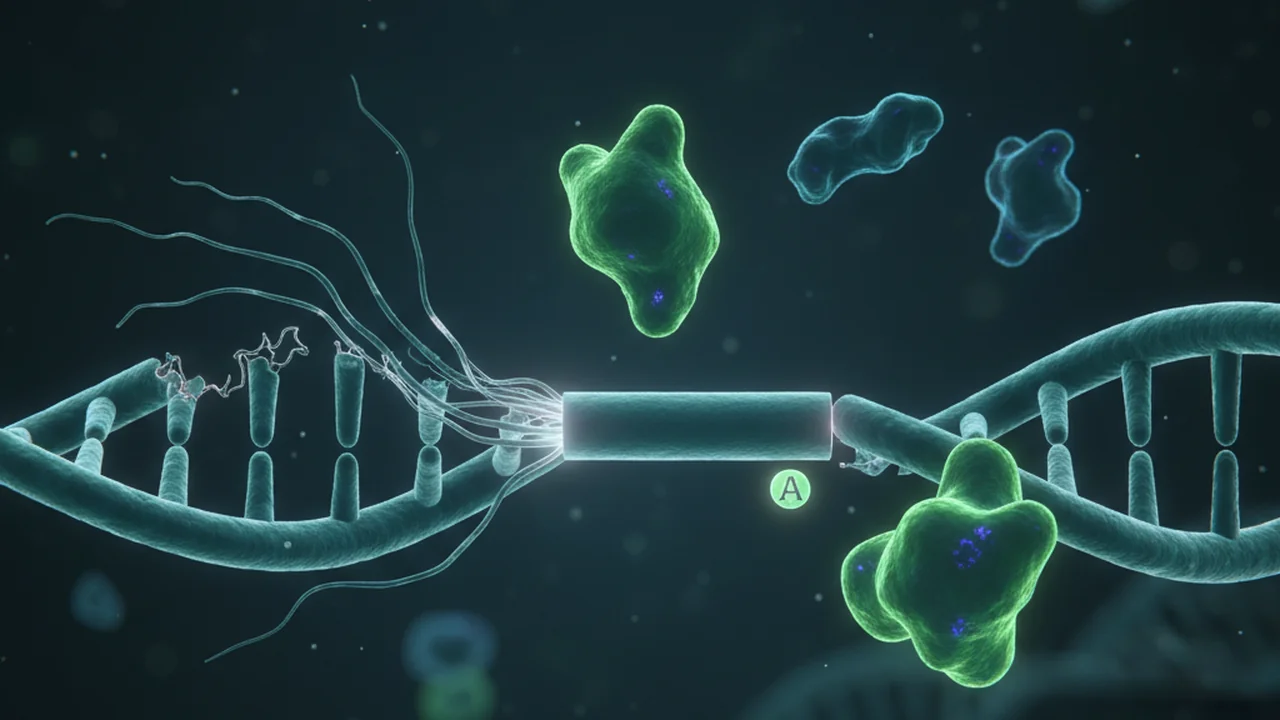
The first enzymatic steps in Oxford Nanopore library preparation often involve end repair and dA-tailing. These processes prepare the DNA fragments for the subsequent ligation of sequencing adapters. While the detailed reagent mix isn’t provided here, the crucial incubation conditions are:
Cycling: 20°C for 5 minutes → 65°C for 5 minutes
End Repair converts any “sticky ends” (overhangs) on DNA fragments into blunt ends. This is crucial for consistent adapter ligation. dA-Tailing then adds a single adenine (A) nucleotide to the 3′ end of these blunt-ended DNA fragments. This ‘A-overhang’ is designed to complement the ‘T-overhang’ on the sequencing adapters, ensuring efficient and directional ligation.
Consider the importance of precise temperature and time in enzymatic reactions. What might happen if these conditions are not strictly followed?
AMPure XP Bead Cleanup: Purifying the Prepared DNA
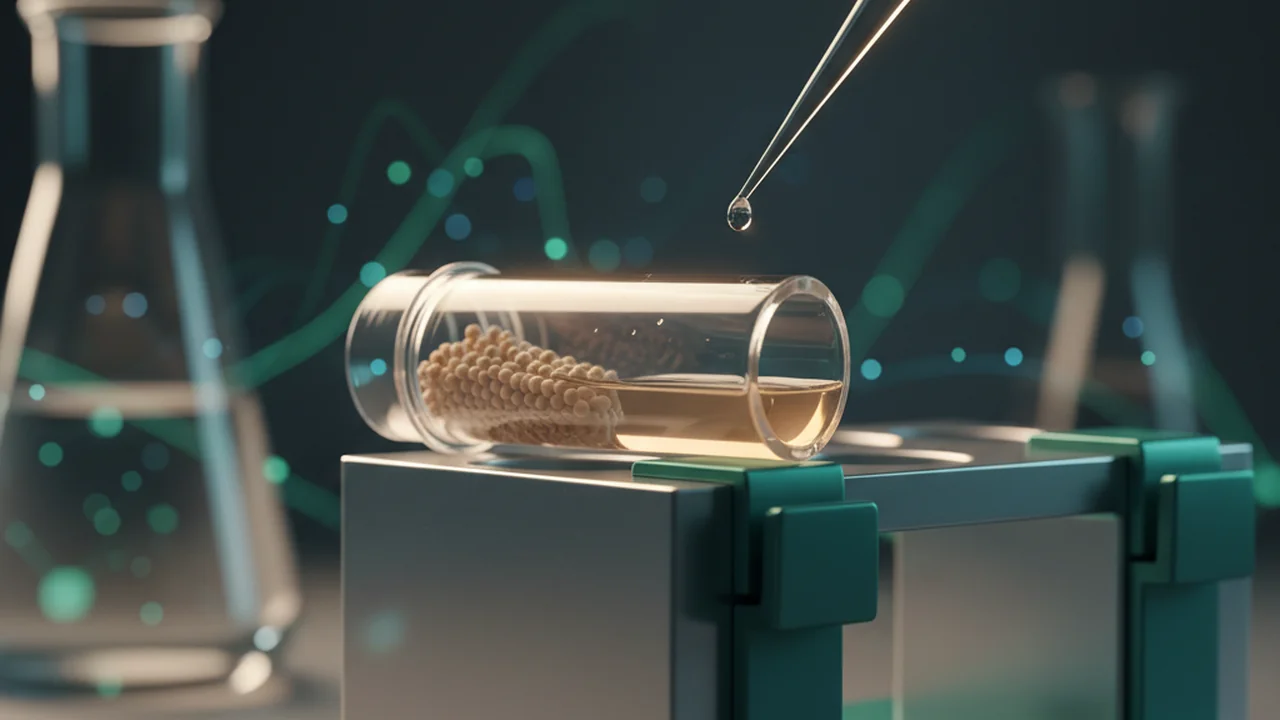
After enzymatic reactions, it’s essential to clean up the DNA by removing enzymes, salts, and small fragments that could interfere with downstream steps. This is where AMPure XP beads come in, offering a highly efficient method for size selection and purification.
- Add 15 µl resuspended AXP beads; flick to mix
- Rotate for 5 minutes at room temperature
- Pellet on magnet; remove supernatant
- Wash 2× with 200 µl fresh 70% ethanol (without disturbing pellet)
- Dry for 30 seconds (do not crack)
- Elute in 4 µl nuclease-free water; incubate 2 minutes
- Pellet on magnet; transfer 2.5 µl eluate to barcode tube
- Quantify 1 µl on Nanodrop
AMPure XP beads are paramagnetic beads coated with carboxyl groups. In the presence of high salt concentrations (like those in reaction buffers), DNA binds to these beads. When the salt concentration is lowered (e.g., during elution with nuclease-free water), the DNA is released, allowing for effective separation from contaminants.
What is the primary purpose of washing AMPure XP beads with 70% ethanol during DNA cleanup?
- DNA must be prepared into a sequencing library to be readable by instruments.
- End repair and dA-tailing modify DNA ends for adapter ligation.
- AMPure XP bead cleanup purifies DNA by removing contaminants and enzymes.
Step 2: Barcoding (Adapter Ligation)
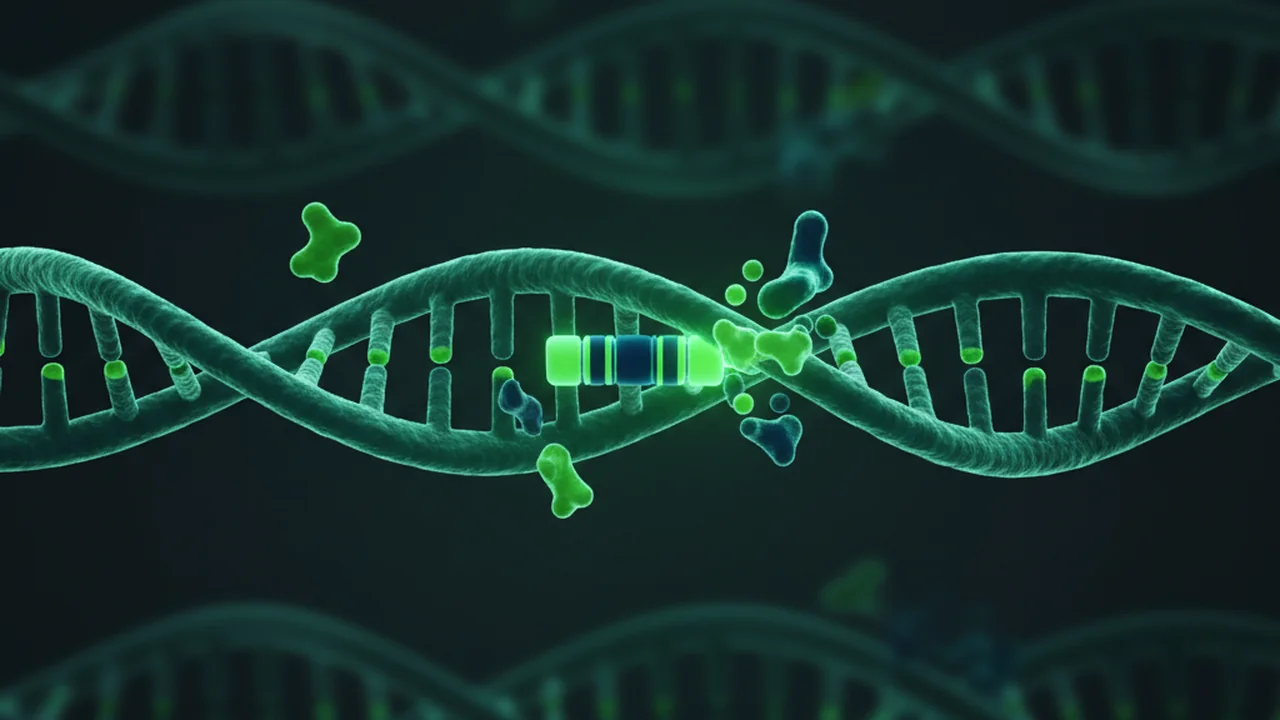
With the DNA fragments now clean and properly tailed, the next critical step is to ligate (join) them to specific native barcodes and sequencing adapters. Barcodes are short, unique DNA sequences that allow multiple samples to be sequenced together (multiplexed) and later deconvoluted.
Barcode Ligation Mix:
- 2.5 µl end-prepped DNA
- 2.5 µl native barcode
- 5 µl Blunt/TA Ligase Master Mix
Total: 10 µl
Incubate 20 minutes at room temperature.
Add 1 µl EDTA to stop ligation.
DNA ligase is an enzyme that catalyzes the formation of a phosphodiester bond between adjacent nucleotides, effectively joining DNA fragments. In the context of library prep, it joins the dA-tailed DNA to the T-tailed sequencing adapters (which include the barcode sequence). This reaction requires ATP as an energy source and often magnesium ions as a cofactor.
EDTA (Ethylenediaminetetraacetic acid) is a chelating agent that binds to metal ions, particularly divalent cations like magnesium (Mg²⁺). By adding EDTA, you essentially sequester the Mg²⁺ ions that the ligase enzyme needs to function, thereby halting the ligation reaction. This prevents over-ligation or non-specific ligation that could compromise library quality.
More ligation time or ligase enzyme always leads to better adapter attachment.
Excessive ligation or ligase can lead to adapter-dimer formation (adapters ligating to each other without DNA) or over-ligation, reducing the concentration of desired DNA-adapter constructs and impacting sequencing efficiency.
Imagine you need to barcode 12 samples for a new metagenomics project. Briefly outline two key considerations you would have when selecting or designing your barcode sequences to ensure accurate demultiplexing.
- Uniqueness: How would you ensure each barcode is distinct enough?
- Error Tolerance: What features would you incorporate to allow for some sequencing errors without misidentifying samples?
Pooling (for 6 samples): Maximizing Sequencing Efficiency
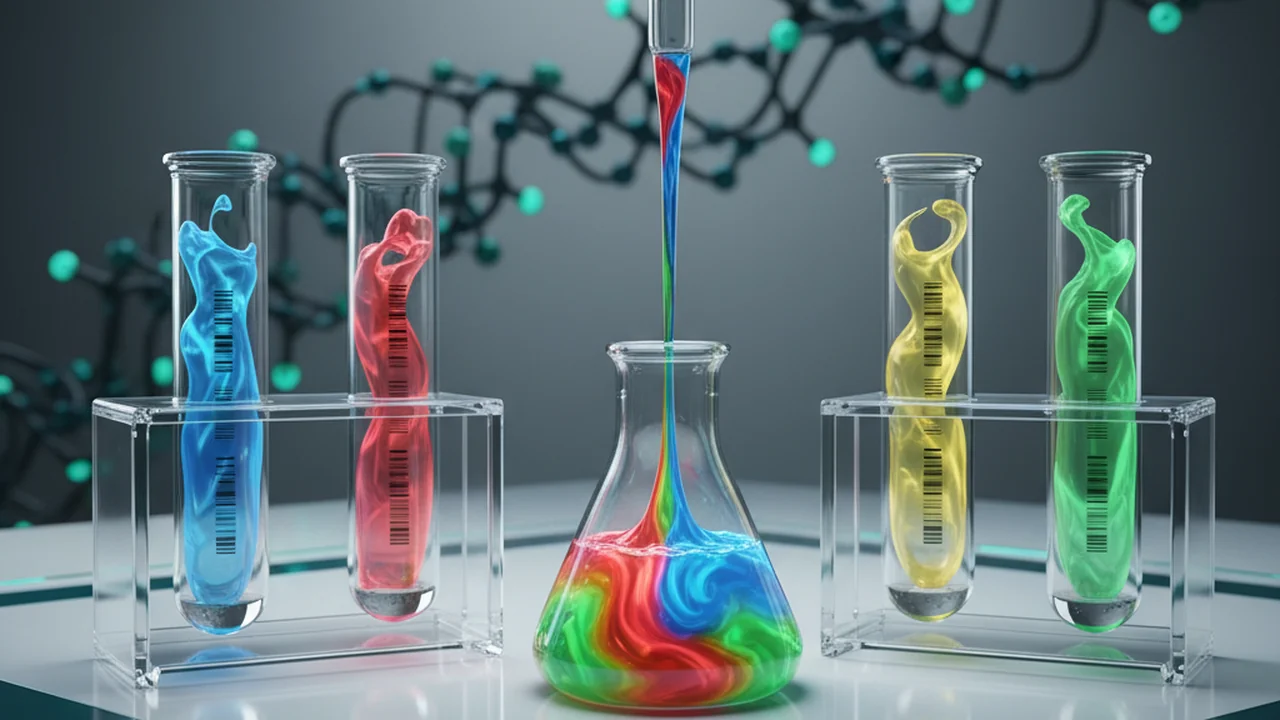
When preparing multiple samples for sequencing, pooling them together after barcoding offers significant advantages in terms of cost and throughput. This allows a single sequencing run to generate data for numerous samples simultaneously.
Pool ~10 µl per sample into one 1.5 ml LoBind tube.
Add 24 µl AXP beads; rotate 10 minutes.
Wash 2× with 700 µl 70% ethanol.
Elute in 30 µl nuclease-free water; incubate 10 minutes at 37°C.
High-Throughput Savings: Pooling is a cornerstone of modern high-throughput sequencing. By combining many barcoded samples into one run, researchers can significantly reduce the per-sample cost and increase the total number of samples processed per sequencer, accelerating discoveries in fields like metagenomics where many environmental samples are analyzed.
What is the purpose of the final bead cleanup and elution step after pooling? Why is a larger elution volume used here compared to the initial cleanup?
Why is it beneficial to pool multiple barcoded samples together before the final cleanup and sequencing?
Imagine you are a lab manager overseeing a metagenomics project with 50 samples. Describe some of the quality control challenges you might encounter at each stage of this library preparation protocol (end repair/dA-tailing, cleanup, barcoding, pooling) and how you would mitigate them.
Sequencing instruments cannot simply read raw extracted DNA. The DNA must first be prepared into a sequencing library.
The success of Oxford Nanopore sequencing hinges on a meticulously executed library preparation protocol, where each step—from enzymatic end modification and purification to barcoding and pooling—is essential for transforming raw DNA into high-quality, sequencing-ready constructs.
The Shift
- DNA library preparation is a non-negotiable prerequisite for sequencing, involving enzymatic modifications and purification to create sequencing-compatible fragments.
- Precise control over reaction conditions, thorough bead-based cleanup, and accurate barcode ligation are critical steps that directly impact the quality and yield of the sequencing library.
- Pooling barcoded samples allows for efficient, high-throughput sequencing of multiple samples simultaneously, significantly reducing costs and accelerating research timelines.