How do scientists effectively ‘mine’ the invisible world of microbial DNA from a handful of complex soil, ensuring it’s pure enough for advanced analysis?
Welcome to LESSON 5 | METAGENOMICS PROGRAM. In the vast and intricate world of metagenomics, extracting high-quality DNA from environmental samples like soil is the foundational first step. Soil is a notoriously complex matrix, teeming with diverse microorganisms, organic matter, and inhibitory compounds. This lesson will walk you through the precise steps of the MagMAX Bead Protocol, a robust method designed to overcome these challenges and yield genomic DNA suitable for downstream sequencing.
LEARNING OUTCOMES
- Explain lysis as breaking open cells.
- Describe how magnetic beads bind DNA.
- Identify the purpose of washing and ethanol steps.
- Explain elution as recovering purified DNA in liquid.
This lesson details the MagMAX Bead Protocol, a common method for isolating genomic DNA from complex soil samples for downstream sequencing.
The Protocol: Unpacking DNA Extraction from Soil
The journey to isolating DNA from soil is a multi-step process, each designed to achieve a specific goal: first, to liberate the DNA from within microbial cells, then to separate it from cellular debris and soil particles, purify it from contaminants, and finally, recover it in a usable form.
Phase 1: Lysis – Breaking Open Cells
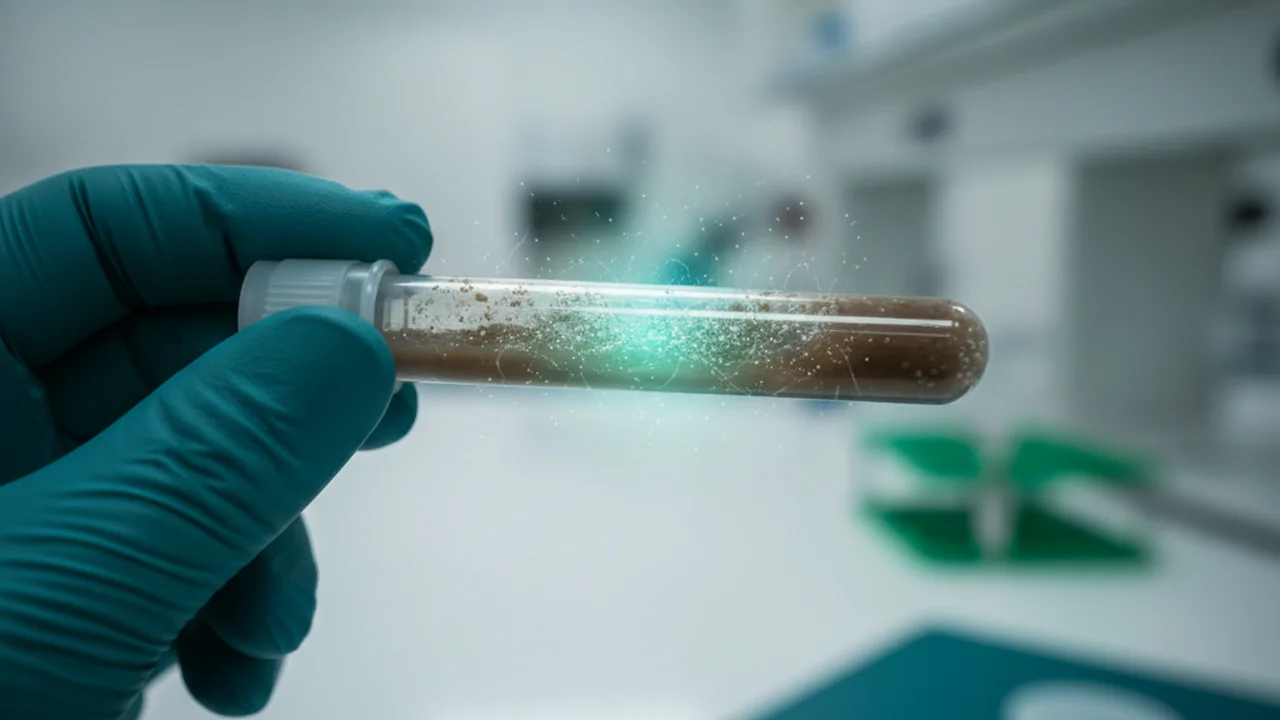
The first critical hurdle in DNA extraction is breaking open the tough cell walls of soil microorganisms. This process, known as lysis, releases the precious genomic DNA into the solution.
The process of breaking open cells, often through mechanical, chemical, or enzymatic means, to release their intracellular contents, including DNA.
- Transfer 250 mg of soil into a brown-cap bead tube
- Add 800 µl of lysis buffer
- Vortex for 5 minutes at full speed
Why is vigorous vortexing with beads so crucial for effective lysis in a soil sample, compared to a pure bacterial culture?
- Centrifuge at 14,000g for 2 minutes
- Transfer 500 µl of supernatant to a new tube containing 40 µl of Proteinase K
- Rotate on platform rotator for 5 minutes
- Incubate at 65°C for 20 minutes (ensure airflow to the bottom of the tube)
Want to go deeper? The science behind lysis buffer and Proteinase K…
Lysis buffer typically contains detergents (like SDS) to disrupt cell membranes and denature proteins, and sometimes chaotropic salts to help denature proteins and protect DNA. Mechanical disruption (vortexing with beads) physically breaks open cells, especially those with robust cell walls. Proteinase K is a broad-spectrum serine protease that degrades proteins. It’s used here to digest cellular proteins, including nucleases that could degrade DNA, and to further break down cellular structures, aiding in DNA release and purification.
What is the primary purpose of the “lysis” phase in DNA extraction?
Phase 2: DNA Binding to Magnetic Beads
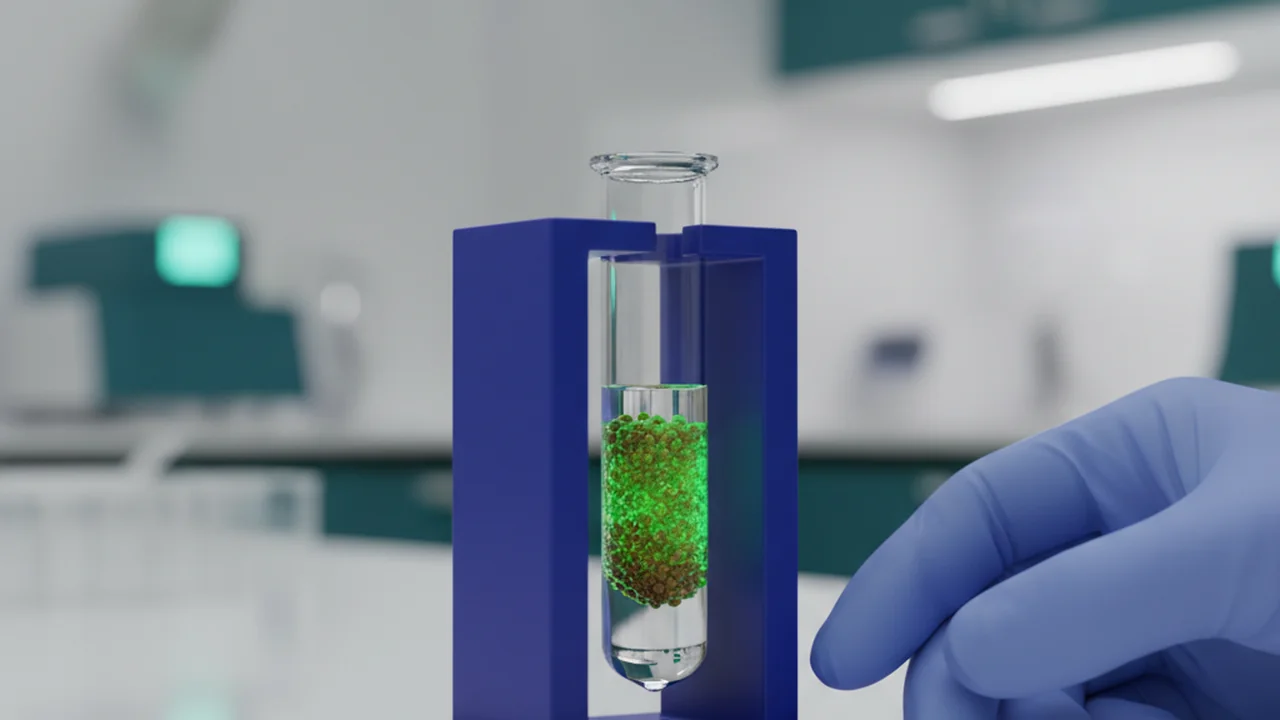
Once the DNA is liberated, the next step is to selectively capture it while leaving behind most of the cellular debris and soil particles. This is where magnetic beads come into play, offering a highly efficient and scalable method for DNA isolation.
Tiny paramagnetic particles coated to specifically bind nucleic acids under certain buffer conditions, allowing for easy separation using an external magnetic field.
- Transfer entire volume to 520 µl of Binding Bead Mix (mix beads frequently)
- Incubate at room temperature on platform shaker at 900 rpm for 5 minutes
- Spin down briefly; place on magnet stand until beads completely bind
Magnetic bead technology revolutionizes DNA extraction by simplifying purification. The beads’ paramagnetic properties allow for rapid, hands-free separation of DNA from contaminants using a simple magnet, making protocols faster and more consistent.
The goal is to isolate genomic DNA from complex soil samples for downstream sequencing.
- Remove and discard supernatant (DNA is bound to the beads)
- Lysis breaks open cells, releasing DNA and other cellular components into solution.
- Proteinase K helps degrade proteins and remove nucleases.
- Magnetic beads selectively bind DNA, allowing it to be pulled out of the complex mixture using a magnet.
Phase 3: Washing Away Impurities
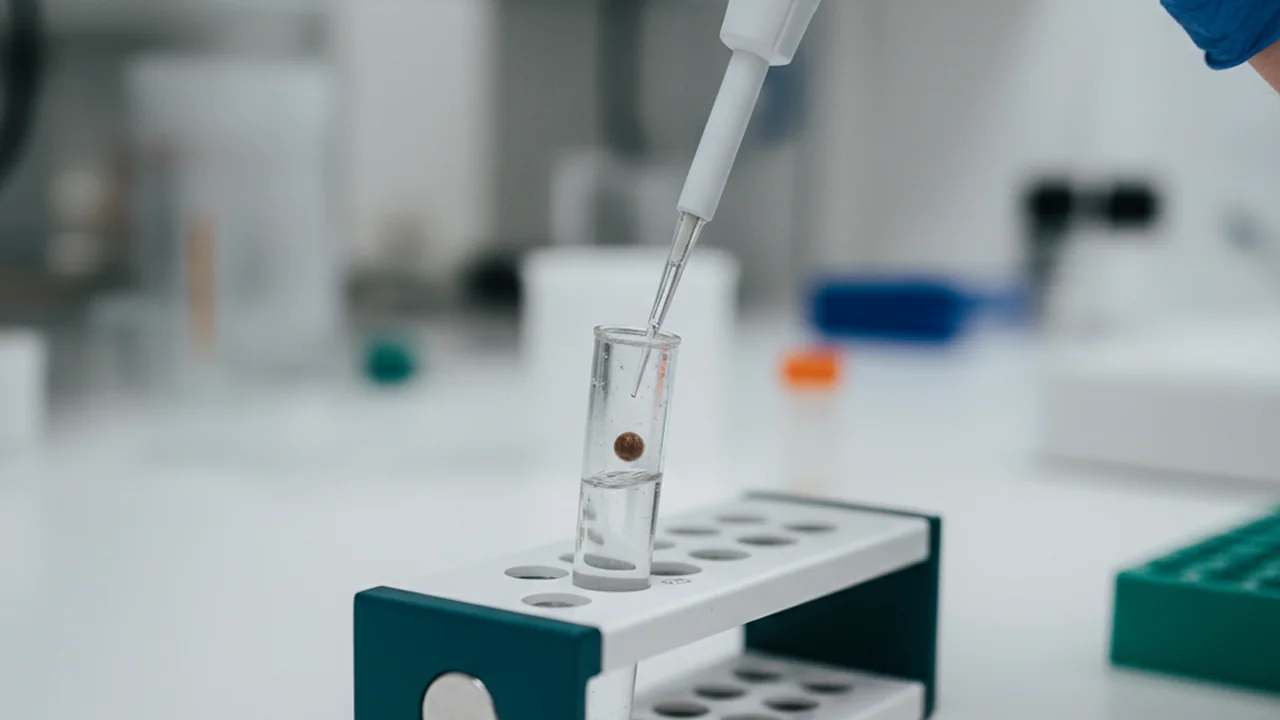
With the DNA now bound to the magnetic beads, the crucial next step is to wash away any remaining contaminants that might interfere with downstream applications like PCR or sequencing. These impurities can include humic substances from the soil, residual proteins, and salts.
- Add 1 ml MagMax wash buffer; gently pipette to resuspend (avoid air bubbles)
- Place on magnet; allow beads to bind; remove and discard supernatant
- Add 1 ml MagMax wash buffer; allow beads to bind; remove supernatant
- Add 1 ml of 80% ethanol; allow beads to bind; remove supernatant
- Repeat 80% ethanol wash
Once DNA is bound, it’s immediately “pure” and ready for use.
Even after binding, significant impurities (salts, proteins, humic acids) can remain. Multiple rigorous washing steps are essential to achieve sufficient purity for sensitive downstream applications.
In metagenomics, even trace amounts of inhibitory compounds like humic acids (common in soil) can completely block PCR amplification or interfere with sequencing, leading to failed experiments. Thorough washing is non-negotiable for obtaining reliable results.
What is the specific role of the 80% ethanol wash steps, and why is it repeated?
Phase 4: Elution – Recovering Purified DNA
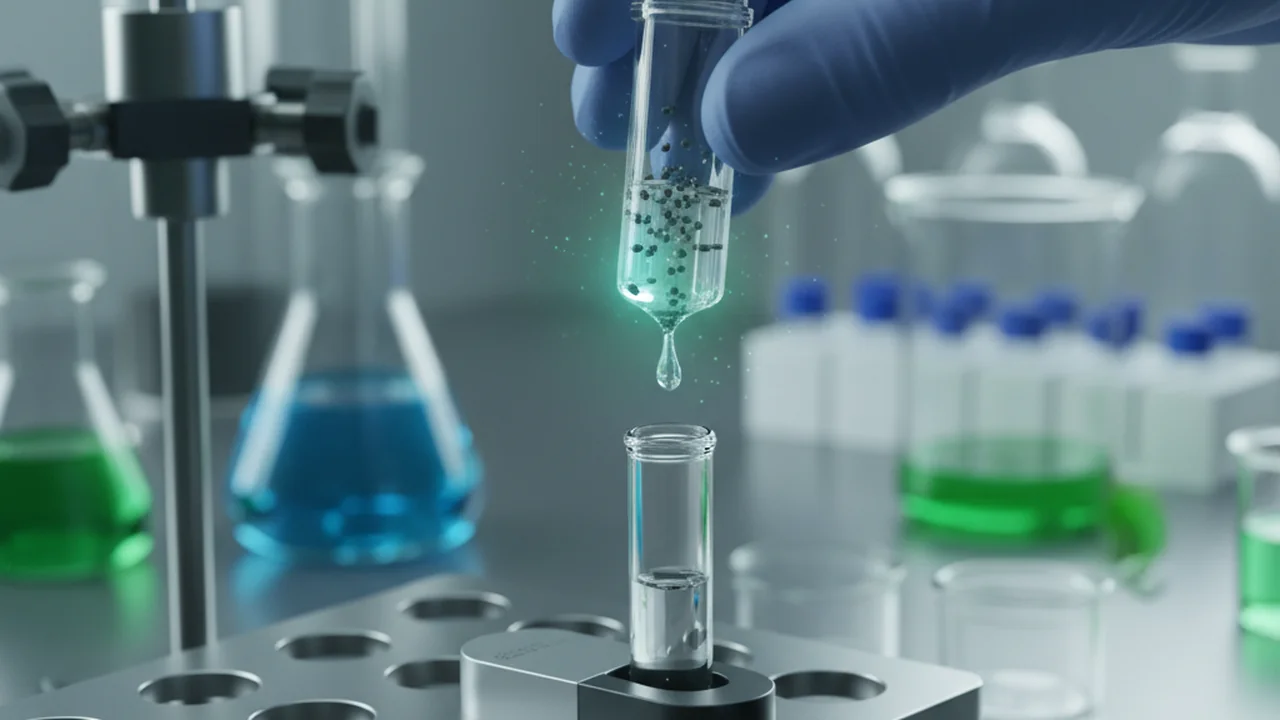
After the DNA has been thoroughly washed and dried, the final step is to release it from the magnetic beads and recover it in a clean, stable buffer. This process is called elution.
The process of releasing a substance (in this case, DNA) from its binding matrix (magnetic beads) into a solution, making it available for collection and subsequent use.
- Briefly centrifuge (5 seconds) to bring down residual volume
- Place on magnet; remove supernatant; leave cap open for 2 minutes (do not over-dry)
While the provided steps conclude with drying the beads, the ultimate goal of elution is to add a small volume of a low-salt buffer (like Tris-EDTA or nuclease-free water) to the beads. This changes the buffer conditions, causing the purified DNA to detach from the magnetic beads and dissolve into the liquid, making it ready for collection and analysis.
Imagine you’ve performed this protocol, but your downstream sequencing results indicate very low DNA yield. Based on the steps outlined, identify two potential points in the protocol where DNA loss could have occurred and suggest a modification for each to improve yield.
- Identify one step where DNA might be lost and propose a solution.
- Identify a second step where DNA might be lost and propose an alternative solution.
Reflect on the challenges inherent in working with environmental samples like soil. How might the unique properties of soil (e.g., high organic content, diverse microbial communities, presence of inhibitors) necessitate such a detailed and multi-step DNA extraction protocol?
After DNA is bound to magnetic beads and washed, what is the primary purpose of the “elution” phase?
Effective DNA extraction from complex environmental samples like soil relies on a meticulously designed multi-step protocol involving mechanical and chemical lysis, selective binding to magnetic beads, rigorous washing to remove contaminants, and final elution to recover purified DNA.
The Shift
- Understanding each step of DNA extraction, from lysis to elution, is critical for obtaining high-quality DNA from challenging environmental samples.
- Magnetic bead technology simplifies and enhances the purification of DNA by providing an efficient method for binding and separating nucleic acids from contaminants.
- The purity and integrity of extracted DNA directly impact the success of downstream metagenomic analyses, making careful adherence to washing and elution protocols paramount.