How do scientists visualize invisible DNA fragments and confirm their experiments?
Learning Outcomes
By the end of this lesson, you will be able to:
- Calculate agarose mass for a percent gel.
- Describe gel casting and SYBR Safe staining.
- Explain DNA ladder use.
- Identify an expected 300 bp PCR band.
Agarose Gel Electrophoresis
A fundamental molecular biology technique used to separate DNA (or RNA) fragments by size, typically for analysis or purification.
The principle behind agarose gel electrophoresis is straightforward: DNA fragments are separated by size. DNA, being negatively charged due to its phosphate backbone, migrates through the gel matrix toward the positive electrode. Smaller fragments encounter less resistance and therefore travel farther and faster through the porous gel, while larger fragments move more slowly and remain closer to the starting wells.
DNA migrates through the gel matrix toward the positive electrode; smaller fragments travel farther.
Consider why DNA’s negative charge is crucial for its movement in an electric field. What would happen if DNA were positively charged?
Preparing a 2% Agarose Gel
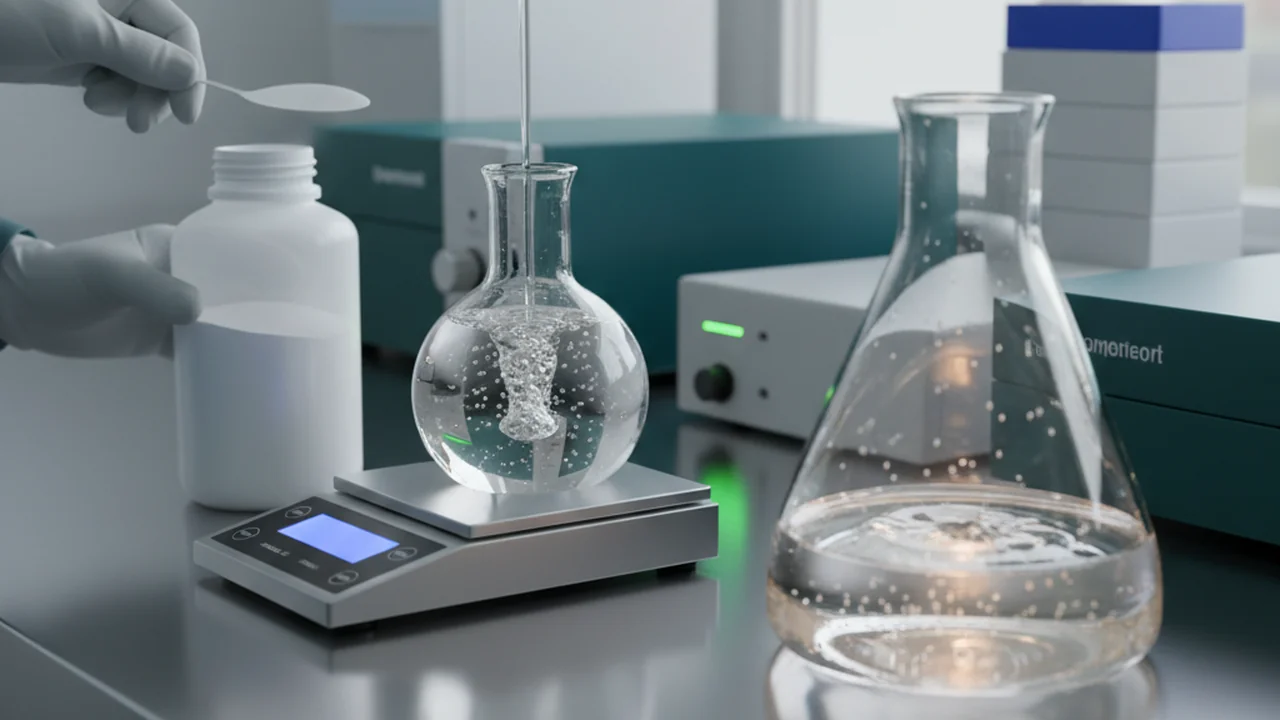
Accurate preparation of the agarose gel is critical for consistent and reliable results. The percentage of agarose determines the pore size of the gel, which in turn affects the resolution of DNA fragments.
The formula for calculating agarose mass is simple:
Formula: (grams / 100 ml) = %
For 50 ml at 2%: 0.02 × 50 = 1.0 gram of agarose
A 2% agarose gel is often used for separating smaller DNA fragments (e.g., 50-1000 bp), offering higher resolution for distinguishing closely sized bands compared to lower percentage gels.
- Agarose gel electrophoresis separates DNA by size.
- DNA moves towards the positive electrode.
- Gel percentage dictates pore size and fragment resolution.
Gel Pouring Protocol
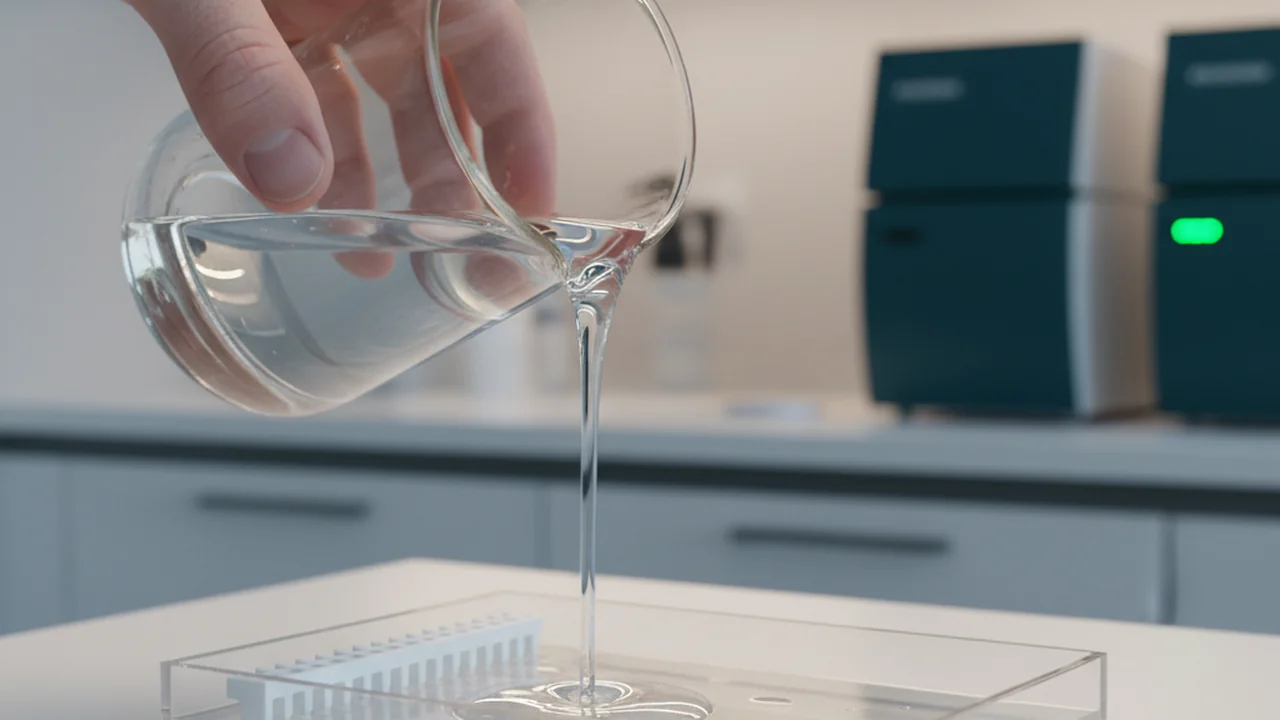
- Place “black dams” on the ends of the casting tray. These create a sealed mold for the gel.
- Weigh 1.0 g of agarose in a 250 ml glass beaker. Precision here ensures the correct gel percentage.
- Add 50 ml of 1× TAE buffer (Tris, Acetic Acid, EDTA). TAE buffer is essential for providing ions to conduct electricity and maintaining pH.
- Microwave for 1.5 minutes until fully dissolved. Ensure no agarose particles remain undissolved, as this can lead to uneven gel polymerization.
- Cool to ~60°C; add 1 µl of SYBR Safe dye; swirl gently to mix. SYBR Safe is a fluorescent DNA stain that allows visualization under UV light. Adding it when the gel is cooler prevents its degradation.
- Pour carefully into casting tray to near the top of the dams. Pour slowly to avoid introducing air bubbles.
- Remove air bubbles to the sides with the white plastic comb. Bubbles can distort band migration.
- Insert the white comb into the top notches. This creates the wells where DNA samples will be loaded.
- Allow 15–30 minutes to solidify. The gel should be firm and opaque before use.
SYBR Safe DNA Gel Stain is a cyanine dye that specifically binds to DNA and fluoresces brightly when exposed to UV light. It’s considered a safer alternative to ethidium bromide due to its lower mutagenicity. The dye intercalates into the DNA double helix, enhancing its fluorescence, making the otherwise invisible DNA bands visible.
Why is it crucial to let the agarose cool to ~60°C before adding SYBR Safe dye? What could happen if it’s added too hot?
Loading and Running
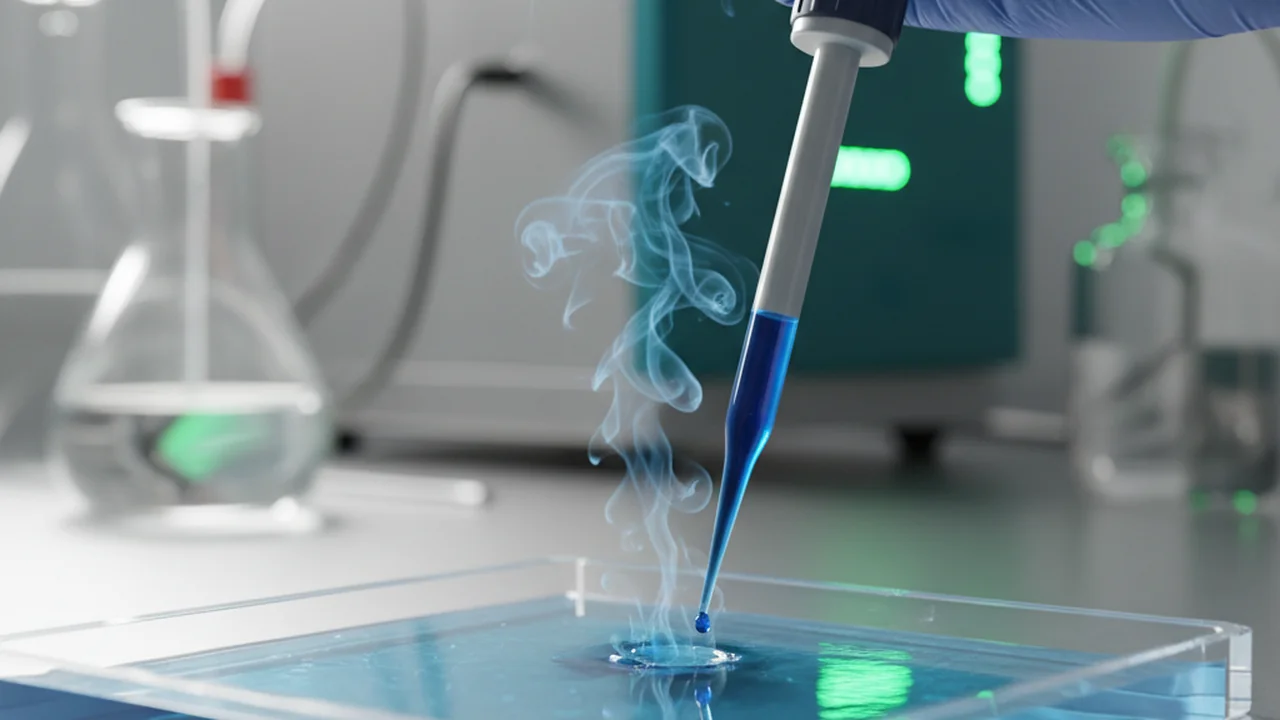
- Remove black dams carefully. The solidified gel should now be free-standing within the tray.
- Place tray in the gel box aligned with the notches. Ensure correct orientation for anode and cathode.
- Add 1× TAE buffer to submerge the gel 1–2 mm. The buffer provides the conductive medium for the electric current.
- Remove the white comb slowly, rocking end-to-end. This prevents tearing the delicate wells.
- Load 10 µl of 100 bp DNA ladder in the far-left well. The DNA ladder contains DNA fragments of known sizes, serving as a reference to estimate the size of unknown DNA samples.
It doesn’t matter where you load the DNA ladder, as long as it’s on the gel.
The DNA ladder should ideally be loaded in a consistent, easily identifiable well (e.g., the first or last well) to provide a clear reference for all samples on the gel and avoid confusion with experimental bands.
Imagine you have successfully run your gel. You loaded a 100 bp DNA ladder and your PCR product, which you expect to be 300 bp. In which relative position would you expect to see your 300 bp PCR band compared to the ladder’s 100 bp band and a hypothetical 500 bp band?
- Draw a simple diagram of a gel with three wells.
- Label the first well “Ladder.”
- In the “Ladder” well, sketch where you’d expect to see the 100 bp, 300 bp, and 500 bp fragments.
- In the second well, sketch where you’d expect to see your 300 bp PCR product.
- Explain your reasoning based on the principle of gel electrophoresis.
To prepare a 2% agarose gel using 50 ml of 1x TAE buffer, how much agarose is needed?
In real-world metagenomics labs, visualizing PCR products with agarose gel electrophoresis is a critical quality control step. It confirms that the PCR successfully amplified DNA, that the product is roughly the expected size (e.g., 300 bp for 16S rRNA gene fragments), and that there are no significant off-target amplifications or primer-dimers.
Which statement accurately describes how DNA fragments separate during agarose gel electrophoresis?
Agarose gel electrophoresis is an indispensable technique in molecular biology for separating and visualizing DNA fragments based on their size, enabling critical validation of PCR products and other DNA manipulation experiments.
Imagine you’ve run your first agarose gel and don’t see any bands, even the DNA ladder. What are three potential reasons for this result, and what steps would you take to troubleshoot each issue?