• Home
  • Courses

Metagenomics Mini-Course

Curriculum

  • 12 Sections
  • 33 Lessons
  • 10 Minutes
Expand all sectionsCollapse all sections
  • Course Overview
    1
    • 1.1
      The Fascinating Field of Metagenomics
      10 Minutes
  • The Invisible World
    2
    • 2.1
      Welcome to Metagenomics: The Invisible World
      10 mins
    • 2.2
      The World Beyond Our Sight (Video)
      10 Minutes
  • Lab Foundations
    3
    • 3.1
      Metric System, Volume, Weight & Pipetting
      10 mins
    • 3.2
      Mastering the Pipette
      10 Minutes
    • 3.3
      The Value of Meticulous Measurement
      10 Minutes
  • DNA and Genomic DNA
    3
    • 4.1
      DNA & Genomic DNA: The Code Behind the Sample
      10 mins
    • 4.2
      What Is DNA? — Quick Review
      10 Minutes
    • 4.3
      The Code Behind the Sample (Video)
      10 Minutes
  • Site Selection & Field Sampling
    3
    • 5.1
      Learning Outcomes
      10 mins
    • 5.2
      Site Selection: A Walkthrough
      10 mins
    • 5.3
      Field Sampling: Hands-On Practice
      10 mins
  • DNA Extraction from Soil
    3
    • 6.1
      Learning Outcomes
      10 mins
    • 6.2
      DNA Extraction Walkthrough
      10 mins
    • 6.3
      DNA Extraction: Hands-On Practice
      10 mins
  • Quantitation and Nanodrop Analysis
    3
    • 7.1
      Learning Outcomes
      10 mins
    • 7.2
      Nanodrop Quantitation Walkthrough
      10 mins
    • 7.3
      Nanodrop Quantitation: Hands-On Practice
      10 mins
  • PCR: Testing DNA Purity
    3
    • 8.1
      Learning Outcomes
      10 mins
    • 8.2
      PCR Purity Walkthrough
      10 mins
    • 8.3
      PCR Purity: Hands-On Practice
      10 mins
  • Agarose Gel Electrophoresis
    3
    • 9.1
      Learning Outcomes
      10 mins
    • 9.2
      Gel Electrophoresis Walkthrough
      10 mins
    • 9.3
      Gel Electrophoresis: Hands-On Practice
      10 mins
  • Oxford Nanopore Library Prep
    3
    • 10.1
      Learning Outcomes
      10 mins
    • 10.2
      Nanopore Library Prep Walkthrough
      10 mins
    • 10.3
      Nanopore Library Prep: Hands-On Practice
      10 mins
  • Final Quantification
    3
    • 11.1
      Learning Outcomes
      10 mins
    • 11.2
      Final Quantification Walkthrough
      10 mins
    • 11.3
      Final Quantification: Hands-On Practice
      10 mins
  • Bioinformatics
    3
    • 12.1
      Learning Outcomes
      10 mins
    • 12.2
      Bioinformatics Walkthrough
      10 mins
    • 12.3
      Bioinformatics: Hands-On Practice
      10 mins

Nanopore Library Prep: Hands-On Practice

Metagenomics Mini-Course

Oxford Nanopore Library Prep: End Repair, dA-Tailing, Barcoding, and Pooling

🕐 7 min read
The Big Question

How do we transform raw, extracted DNA into a perfectly prepared sequencing library, ready for advanced analysis?

Just as a chef prepares ingredients before cooking, scientists must prepare DNA before sequencing. Raw DNA, fresh from extraction, isn’t immediately compatible with sequencing instruments. This lesson walks through the essential, meticulous steps of Oxford Nanopore library preparation: end repair, dA-tailing, barcoding, and pooling. These processes are not just technical; they are fundamental transformations that make high-throughput DNA sequencing possible, allowing us to unlock the genetic secrets of entire microbial communities.

The Crucial First Step: Why Library Prep?

Sequencing instruments cannot simply read raw extracted DNA. The DNA must first be prepared into a sequencing library.
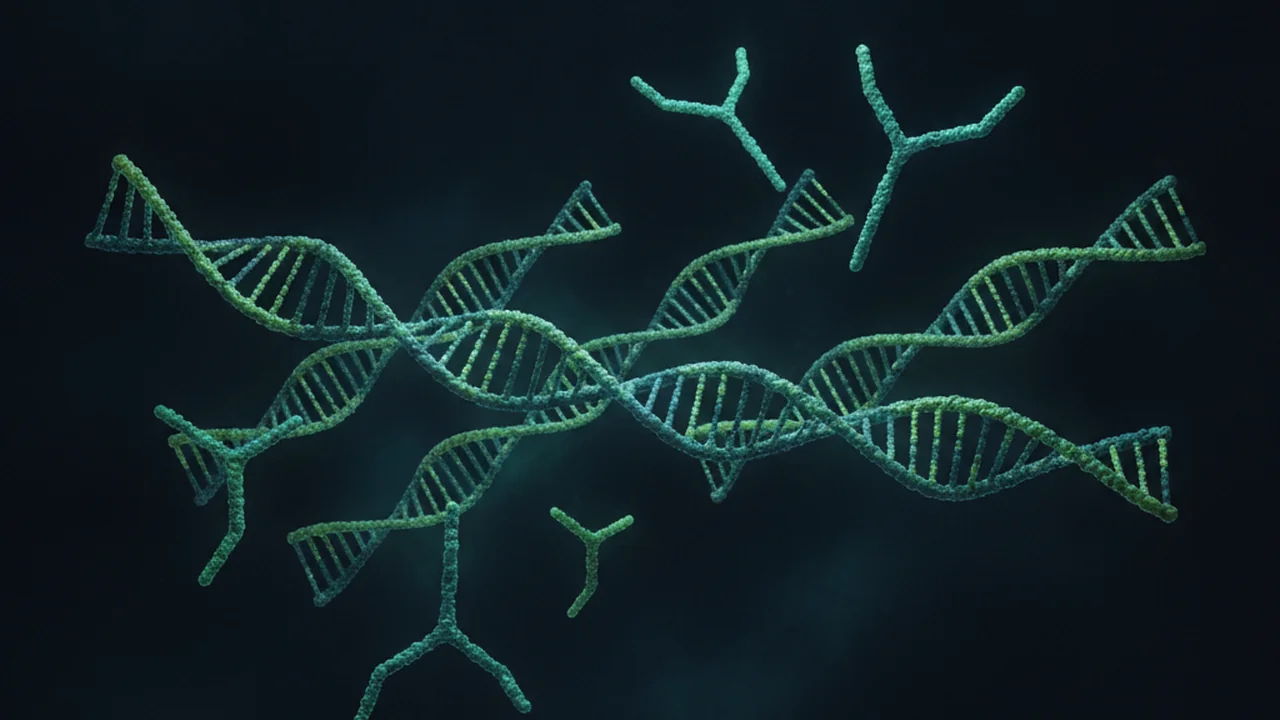
Molecular animation of extracted DNA fragments floating in space. Sequencing adapter pieces hover nearby but cannot attach yet, visually representing the incompatibility of raw DNA with sequencing technology. The scene uses a deep navy and teal palette with luminous elements.
Raw DNA fragments, often with varied ends, cannot directly bind to sequencing adapters, necessitating a preparatory phase.

Why do you think raw DNA isn’t directly compatible with sequencing machines? What characteristics might make it unsuitable?

Precision and Planning: Input Calculation

The protocol begins by calculating how much sample volume contains 400 nanograms of DNA. Divide the DNA needed by the DNA concentration. If the sample is 200 nanograms per microliter, 400 divided by 200 equals 2 microliters.

Volume of DNA (µL) = 400 ng ÷ concentration (ng/µL)
Library prep needs a fixed 400 ng of DNA input
Divide by your measured concentration, then top up to 12 µL total with nuclease-free water
Each sample is normalized to the same 400 ng input, so every library is built from an equal amount of starting DNA.
DNA Concentration

The amount of DNA present in a given volume, typically measured in nanograms per microliter (ng/µL). Precise measurement of DNA concentration is fundamental for molecular biology experiments to ensure correct input amounts.

Refining the Ends: End Repair and dA-Tailing

End repair fixes damaged or incompatible DNA ends. dA-tailing adds a single adenine overhang, preparing the DNA to accept barcode adapters.
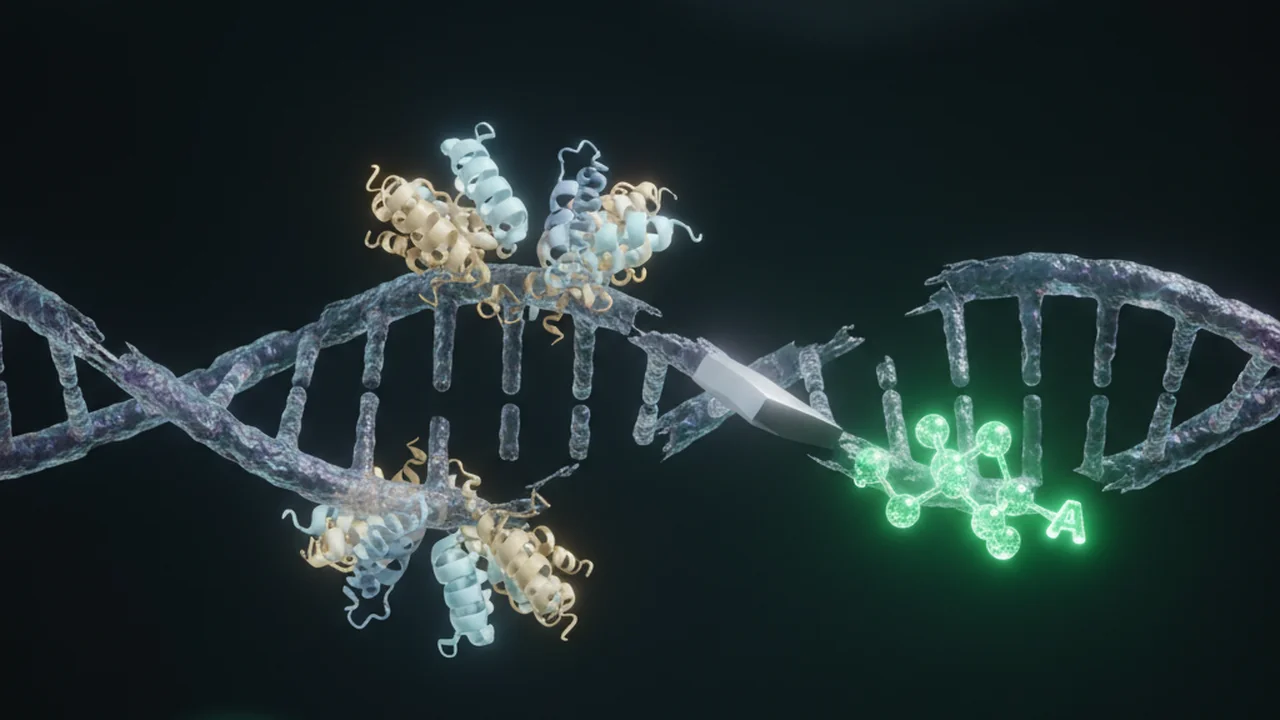
Molecular animation depicting fragmented DNA ends initially appearing jagged. Enzymes are then shown actively repairing these ends, transforming them into blunt, phosphorylated ends. Subsequently, a single 'A' (adenine) nucleotide is added as an overhang to each blunt end, illustrated with luminous DNA strands and subtle bioluminescent green overlays.
Enzymatic end repair creates blunt, phosphorylated ends, and dA-tailing adds a crucial adenine overhang, making DNA compatible with downstream adapters.
💡 Did You Know?

The 5′-phosphate group added during end repair is essential for the DNA ligase enzyme to form a phosphodiester bond, covalently linking the DNA fragments to the adapters in subsequent steps.

❌ Common Misconception

All extracted DNA fragments have identical, blunt ends ready for immediate attachment.

✅ The Reality

DNA extraction and fragmentation can create a variety of ends (blunt, sticky, nicks). End repair and dA-tailing are enzymatic processes that standardize these ends, creating a uniform substrate for adapter ligation.

The Workflow: Reaction Setup and Cleanup

The reaction combines DNA, end repair/dA-tail master mix, and water to a total volume of twelve microliters. After incubation, magnetic bead cleanup removes unwanted reaction components while retaining DNA.
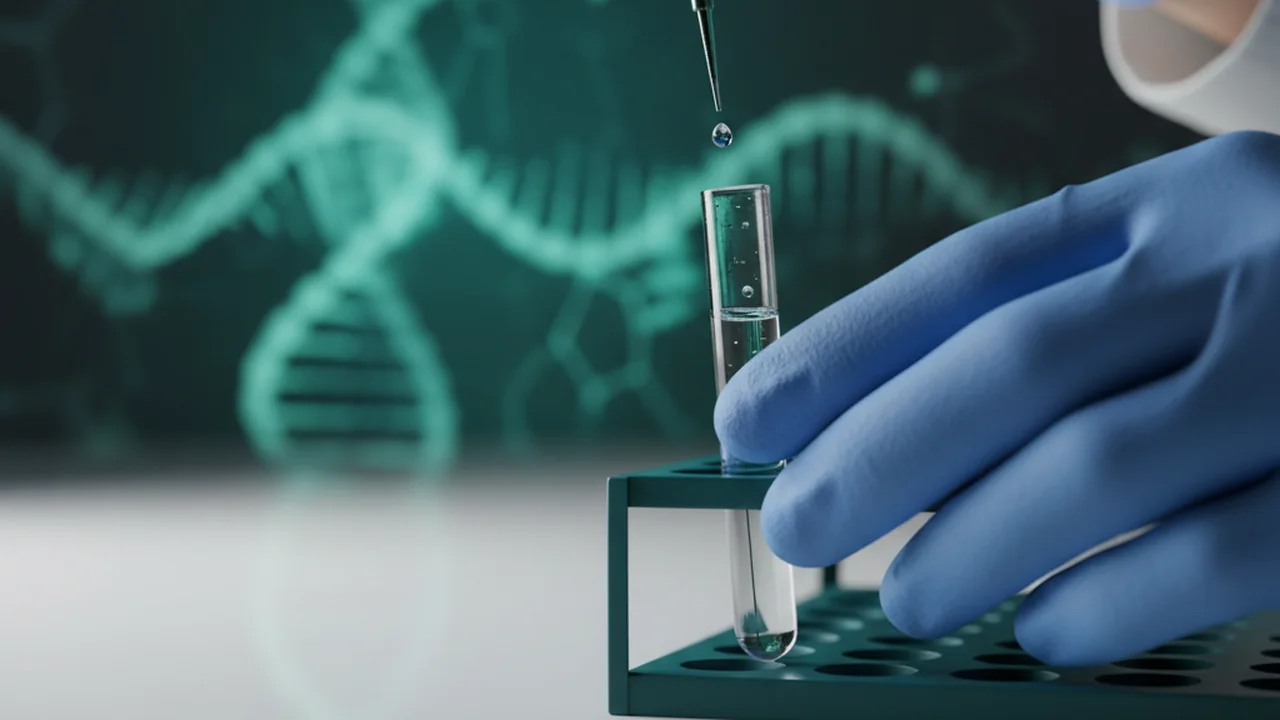
Photorealistic macro shot of a gloved hand using a pipette to add precise volumes of reagents into a clear PCR tube on a clean lab bench. The tube visibly receives master mix, DNA, and water, reaching a total volume of 12 microliters. A thermal cycler is shown in the background, displaying temperatures of 20°C then 65°C. Subsequently, AMPure beads are added to the tube for the cleanup process, depicted with soft cinematic lighting and shallow depth of field.
Precise pipetting and controlled thermal cycling are followed by magnetic bead-based cleanup, which efficiently separates desired DNA from reaction contaminants.
⏱ 5 minutes
Activity: Master Mix Calculation

You need to set up 10 individual library preparation reactions. Each reaction requires 400 ng of DNA, 5 µL of master mix, and water to bring the total volume to 12 µL. If your DNA stock is 250 ng/µL, calculate the total volume of DNA, master mix, and water needed for all 10 reactions, plus an extra 10% for pipetting error.

  1. Calculate the volume of DNA needed per reaction.
  2. Calculate the volume of water needed per reaction.
  3. Multiply each component’s volume by 10 (for 10 reactions).
  4. Add 10% extra to each total volume to account for pipetting losses.
  • Raw DNA must be processed into a sequencing library.
  • Accurate input DNA quantification is crucial for successful reactions.
  • End repair and dA-tailing prepare DNA ends for adapter ligation.
  • Magnetic bead cleanup purifies DNA after enzymatic reactions.

Identity Tags: Barcoding

Each sample receives a unique DNA barcode. This short sequence acts like a molecular ID tag so many students’ samples can be mixed together and sorted later during analysis.
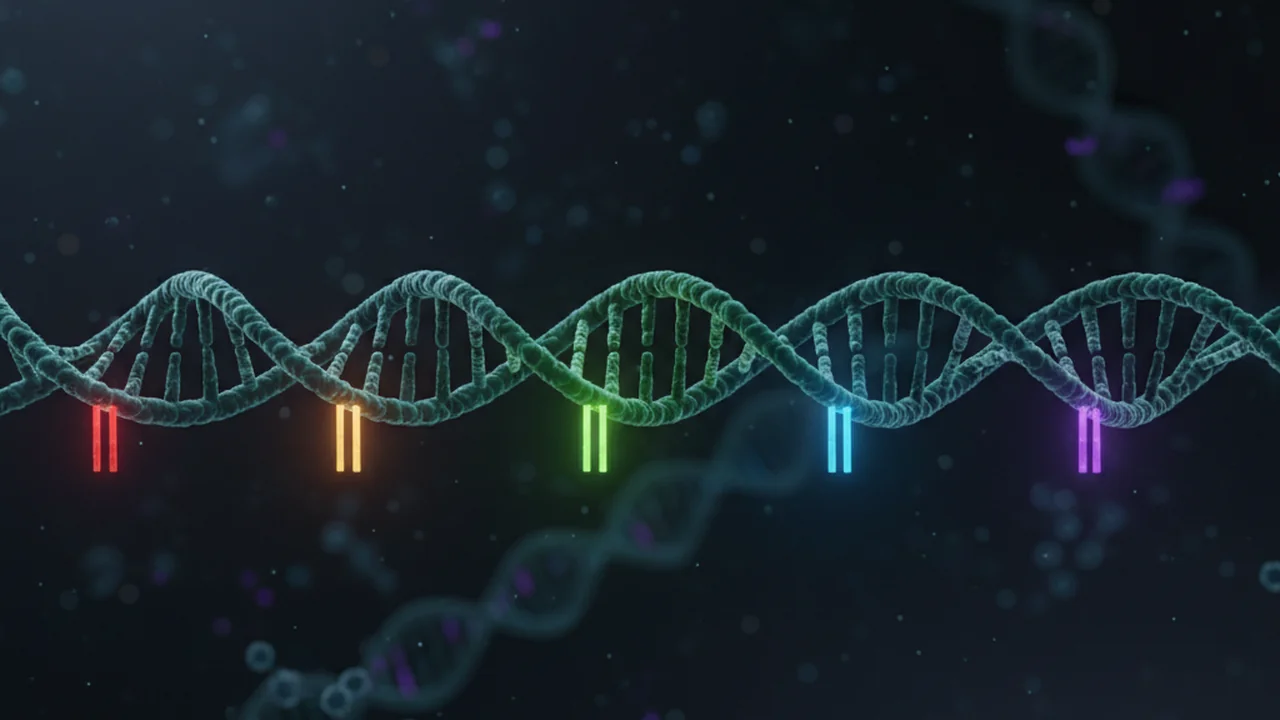
Molecular animation showing a unique barcode adapter, represented as a distinct short DNA sequence with a unique color, locking onto a prepared dA-tailed DNA fragment. The visual emphasizes the specific and irreversible attachment, with other uniquely barcoded DNA fragments also present.
Unique barcode adapters provide a molecular identifier for each sample, enabling individual tracking even when pooled.

Barcoding is a cornerstone of modern high-throughput sequencing. It allows labs to dramatically scale up their experiments, processing hundreds or thousands of samples in parallel, which is vital for projects like large-scale microbiome studies or population genetics.

Efficiency Amplified: Multiplexing and Pooling

Pooling barcoded samples is called multiplexing. It lets many libraries be sequenced in the same run without losing track of which read came from which sample.
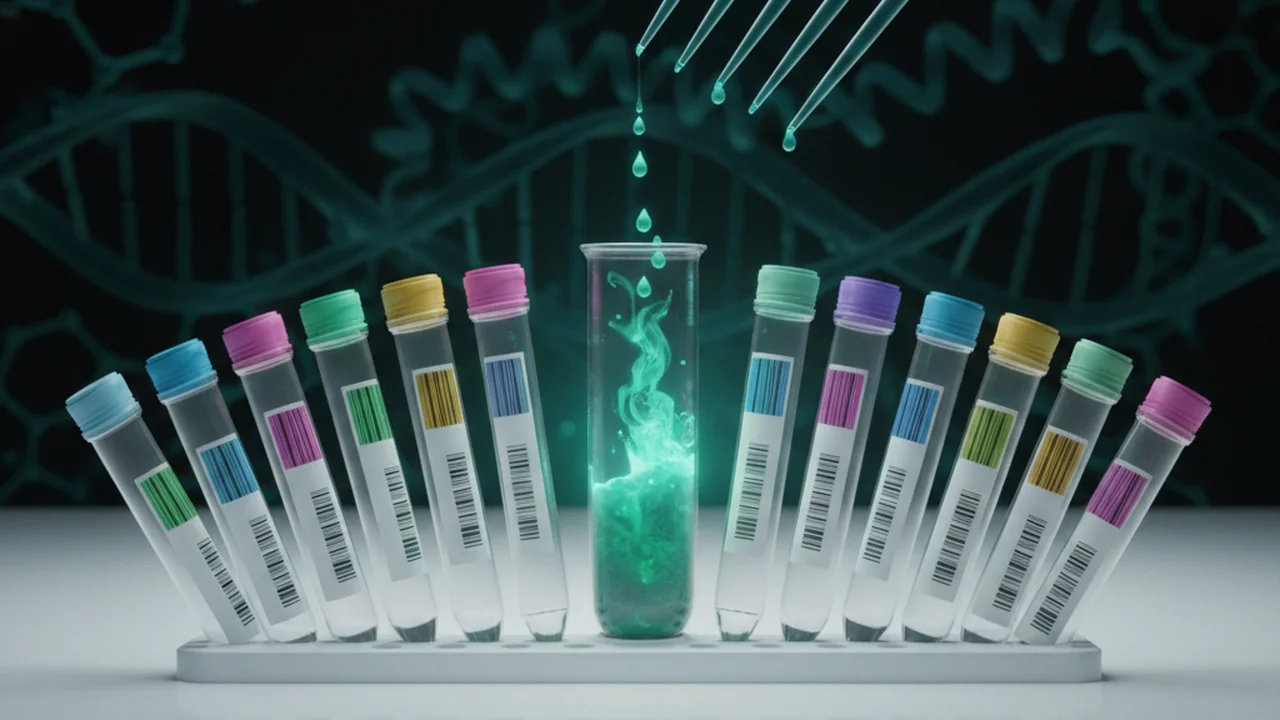
Animated visual depicting several separate colored sample tubes, each representing a unique barcoded DNA sample. These individual samples are shown flowing and combining into a single, larger LoBind tube. The animation highlights that while the samples mix, the unique barcodes within each DNA strand remain distinct and identifiable.
Multiplexing involves combining multiple uniquely barcoded samples into a single pool for sequencing, maximizing the throughput of each sequencing run.
Multiplexing

The technique of combining multiple individually barcoded DNA libraries into a single tube for simultaneous sequencing, significantly increasing efficiency and reducing the cost per sample.

Want to go deeper? The design of barcode adapters

Nanopore barcode adapters are specifically engineered DNA constructs. They contain not only the unique barcode sequence but also sequences essential for ligation to the prepared DNA fragments and for binding to the nanopore sequencing platform. The 3′ end of these adapters typically features a T-overhang, which specifically ligates to the A-overhang created during the dA-tailing step. This directed ligation ensures that the adapters attach correctly and efficiently, preparing the DNA for its journey through the nanopores.

+50 XP

Which of the following best describes the primary benefit of multiplexing in DNA sequencing?

Review the “Barcoding” and “Multiplexing and Pooling” sections to find the answer.

Purification Post-Pooling: Pooled Cleanup

After pooling, magnetic beads capture the barcoded DNA library. Washes remove contaminants, brief drying removes ethanol, and elution recovers the cleaned pooled library.
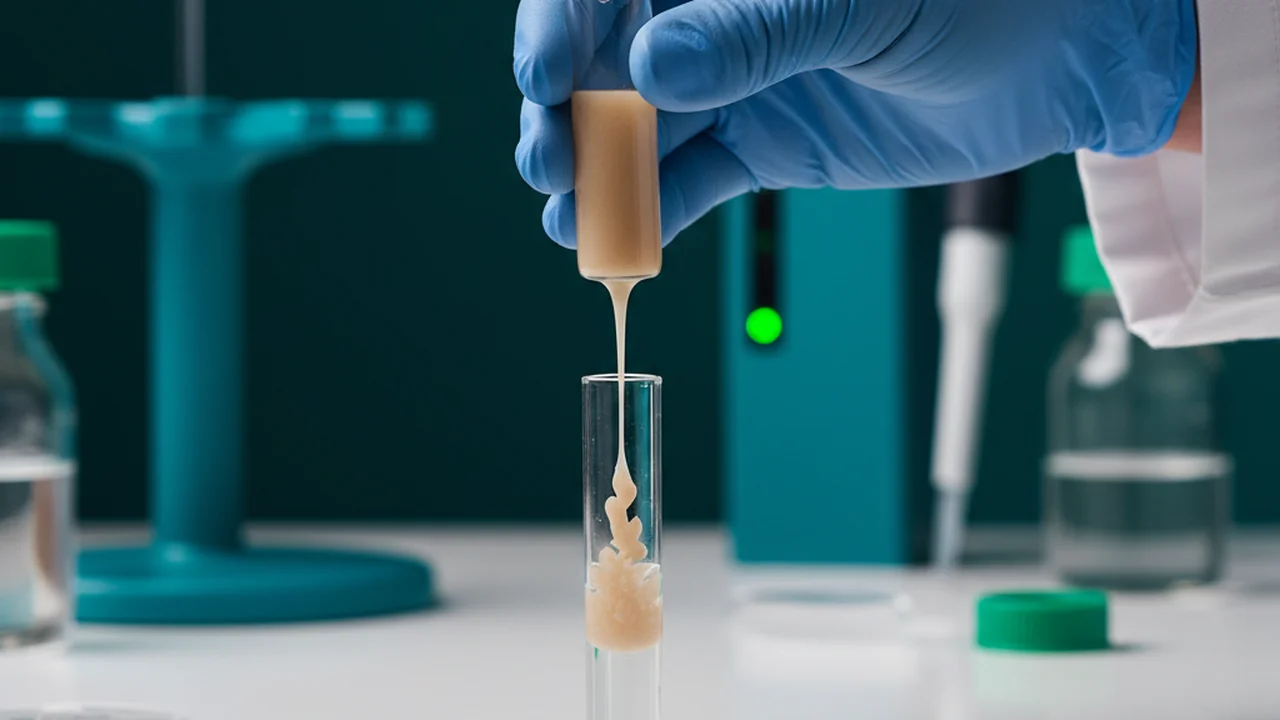
Photorealistic laboratory footage depicting the pooled cleanup process: a gloved hand adding AMPure XP beads to a LoBind tube, followed by incubation. The tube is then placed on a magnetic stand to pellet the beads, and a pipette removes the supernatant. Subsequent steps show ethanol washes, brief air-drying of the pellet, and finally, elution of the cleaned pooled library in nuclease-free water, all with precise macro shots and cinematic lighting.
Magnetic bead-based cleanup efficiently purifies the pooled barcoded library, removing unwanted components and preparing it for the next sequencing steps.

The pooled cleanup involves several critical steps: adding beads, incubation, magnetic separation, washes, drying, and elution. Choose two of these steps and explain the precise reason why each is necessary for obtaining a high-quality sequencing library. What would be the consequence of skipping or incorrectly performing these two steps?

0 words Take your time — depth matters more than length

The Final Leg: Bridge to Adapter Ligation

The prepared barcoded pool is now ready for adapter ligation, the final step that enables nanopore sequencing.
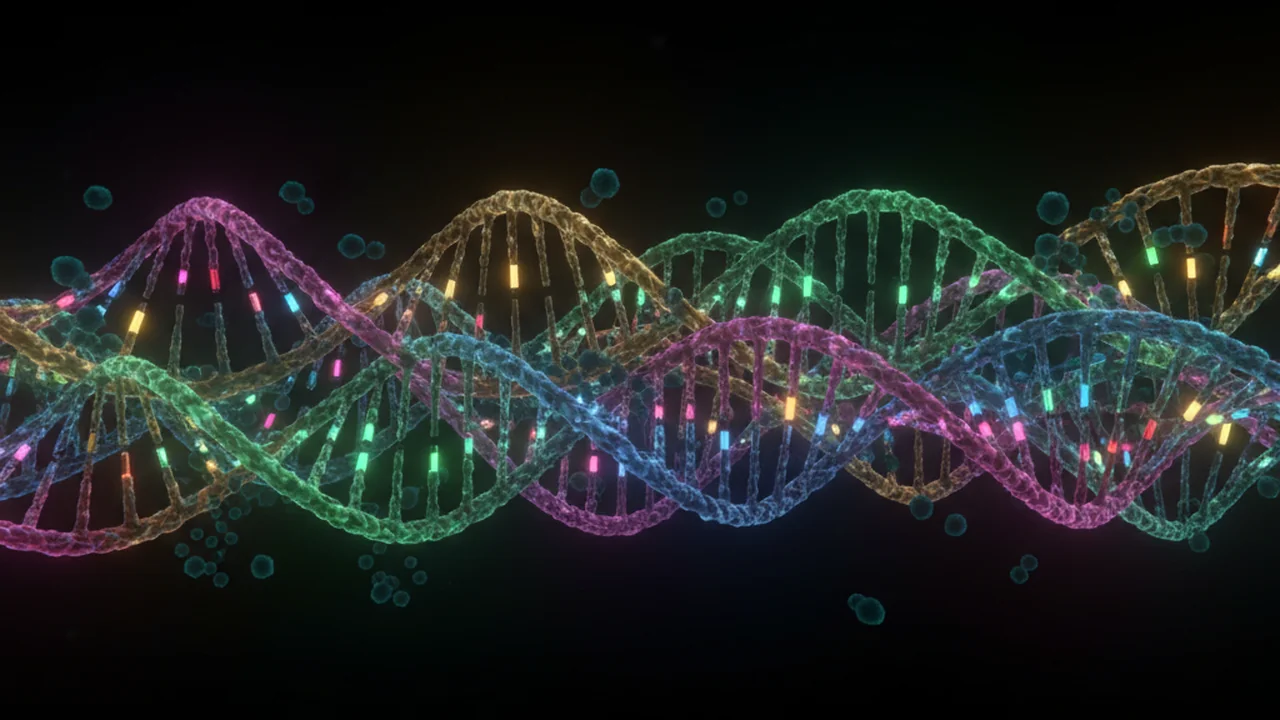
Animated visual showing the pooled barcoded library, represented as a collection of luminous DNA strands, moving purposefully towards a stylized depiction of an Oxford Nanopore flow cell. The motion indicates readiness for the final adapter ligation and subsequent loading onto the sequencing device, with subtle teal and bioluminescent green overlays.
The meticulously prepared and purified barcoded library is now ready for the crucial final adapter ligation, which will enable its interaction with the nanopore flow cell.
Key Takeaway

Oxford Nanopore library preparation is a systematic process involving precise input calculation, enzymatic modification of DNA ends, unique barcoding, efficient multiplexing, and thorough purification to create a high-quality, sequence-ready DNA library.

Pooling barcoded samples is called multiplexing. It lets many libraries be sequenced in the same run without losing track of which read came from which sample.

SHIFT

The Shift

  • Raw DNA requires precise enzymatic modifications, like end repair and dA-tailing, to ensure compatibility with sequencing adapters and prevent errors.
  • Barcoding and multiplexing are strategic approaches that dramatically increase the efficiency and cost-effectiveness of sequencing by allowing many samples to be processed concurrently.
  • Rigorous procedural steps, including accurate input calculation, careful reaction setup, and multi-stage magnetic bead cleanup, are indispensable for generating high-quality DNA libraries suitable for nanopore sequencing.
/grit-lesson-wrapper
End of lesson Ready for the next lesson?
Continue to next lesson  →
Nanopore Library Prep Walkthrough
Prev
Learning Outcomes
Next
YOUR DIGITAL ASSISTANT

Modal title

Main Content