How do we prepare our meticulously barcoded DNA samples to be read by a Nanopore sequencer, ensuring optimal performance and data quality?
Learning Outcomes
By the end of this lesson, you will be able to:
- Describe adapter ligation and its role in sequencing library preparation.
- Explain the critical steps of final bead cleanup and elution to purify DNA.
- Connect fmol loading recommendations to the efficiency and success of Nanopore sequencing.
- Understand the practical purpose of flow cell priming and sample loading in the Nanopore sequencing workflow.
This lesson guides you through the final, crucial steps of preparing your metagenomics samples for sequencing, ensuring they are perfectly primed for the Nanopore platform.
Adapter Ligation: Attaching the Keys to the Sequencer
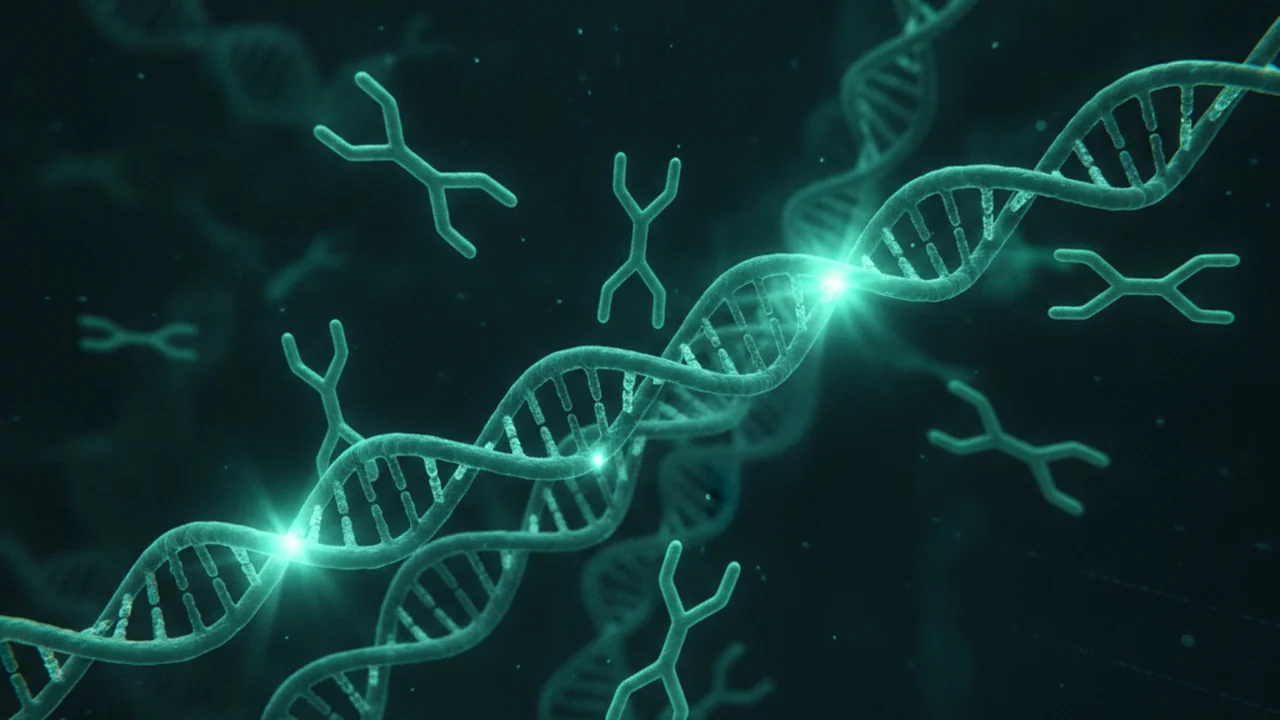
Before your DNA fragments can be read by a Nanopore sequencer, they need specific “adapter” sequences ligated to their ends. These adapters serve as molecular handles, allowing the DNA to bind to the flow cell and be translocated through the nanopores. Think of them as the unique keys that unlock the sequencing process.
Adapter Ligation Mix: The Recipe for Success
The following components are carefully combined to ensure efficient adapter ligation:
- 30 µl pooled barcoded sample: Your precious DNA, now organized and ready for the next step.
- 5 µl Adapter Mix (NA): This proprietary mix contains the specialized DNA adapters.
- 10 µl NEBNext Quick Ligation Reaction Buffer (5×): Provides the optimal chemical environment for the ligase enzyme to function.
- 5 µl Quick T4 DNA Ligase: The enzyme that catalyzes the formation of phosphodiester bonds, covalently joining the adapters to your DNA fragments.
Total: 50 µl
After mixing, the reaction is incubated for 20 minutes at room temperature. This incubation period allows the T4 DNA ligase sufficient time to efficiently attach the adapters to the ends of your DNA fragments.
The enzymatic process of covalently attaching specific synthetic DNA sequences (adapters) to the ends of target DNA fragments. These adapters are essential for primer binding, sequencing initiation, and immobilization on the sequencing platform.
DNA ligases, like the T4 DNA Ligase used here, are enzymes that facilitate the joining of DNA strands by catalyzing the formation of phosphodiester bonds between adjacent nucleotides. Specifically, they form a bond between the 5′-phosphate group of one DNA fragment and the 3′-hydroxyl group of another. This reaction requires ATP as an energy source, which is typically supplied within the reaction buffer. In adapter ligation, the ligase ensures a stable, covalent attachment of the adapter sequences to both ends of your DNA library fragments, making them ready for downstream processing.
Consider the importance of precise pipetting and timing in this step. How might variations impact the efficiency of adapter ligation?
AXP Bead Cleanup: Purifying Your Ligated Library
After adapter ligation, the reaction mix contains not only your desired adapter-ligated DNA but also excess adapters, unused ligase enzyme, and buffer components. These contaminants can interfere with downstream sequencing. AXP bead cleanup is a crucial solid-phase reversible immobilization (SPRI) method used to selectively purify the ligated DNA fragments, removing unwanted components.
AXP Bead Cleanup Protocol
- Add 20 µl resuspended AXP beads; mix by pipetting: AXP beads are magnetic beads coated with a proprietary surface chemistry that binds DNA in the presence of specific buffer conditions. Resuspending them ensures an even distribution and efficient binding.
- Rotate 10 minutes at room temperature: This rotation ensures thorough mixing of the DNA with the beads, maximizing DNA binding efficiency.
- Pellet on magnet; remove supernatant: Placing the tube on a magnet pulls the DNA-bound beads to the side, allowing you to carefully remove the supernatant, which contains contaminants like unbound adapters and enzymes.
- Wash 2× with 125 µl Long Fragment Buffer (LFB): Washing removes residual contaminants while keeping the DNA bound to the beads. The LFB is specifically formulated to maintain DNA binding during washing.
- Dry ~30 seconds; do not crack: A brief drying step removes any remaining wash buffer. “Do not crack” refers to avoiding over-drying the beads, which can make elution difficult and potentially damage the DNA.
- Elute in 15 µl Elution Buffer (EB) at 37°C for 10 minutes: Elution Buffer (typically a low-salt buffer like Tris-HCl) releases the DNA from the beads. Incubation at 37°C helps to increase the solubility and release efficiency of the DNA from the beads.
- Transfer 15 µl eluate to a clean LoBind tube: Using a LoBind tube minimizes DNA loss due to adherence to the plastic, which is especially important for low-concentration samples.
SPRI (Solid-Phase Reversible Immobilization) bead technology is a cornerstone of modern molecular biology. It relies on the principle that DNA binds to magnetic beads under specific salt and PEG (polyethylene glycol) concentrations, and can be released by changing these conditions. This allows for highly efficient and size-selective purification.
Imagine your AXP bead cleanup yielded very little DNA. What are two potential reasons for this, based on the protocol steps, and how would you troubleshoot them?
- Consider the binding and washing steps.
- Think about the elution process.
- Adapter ligation attaches essential sequences to DNA.
- AXP bead cleanup purifies ligated DNA, removing contaminants.
Final Quantification: Ensuring Optimal Loading for Nanopore Sequencing
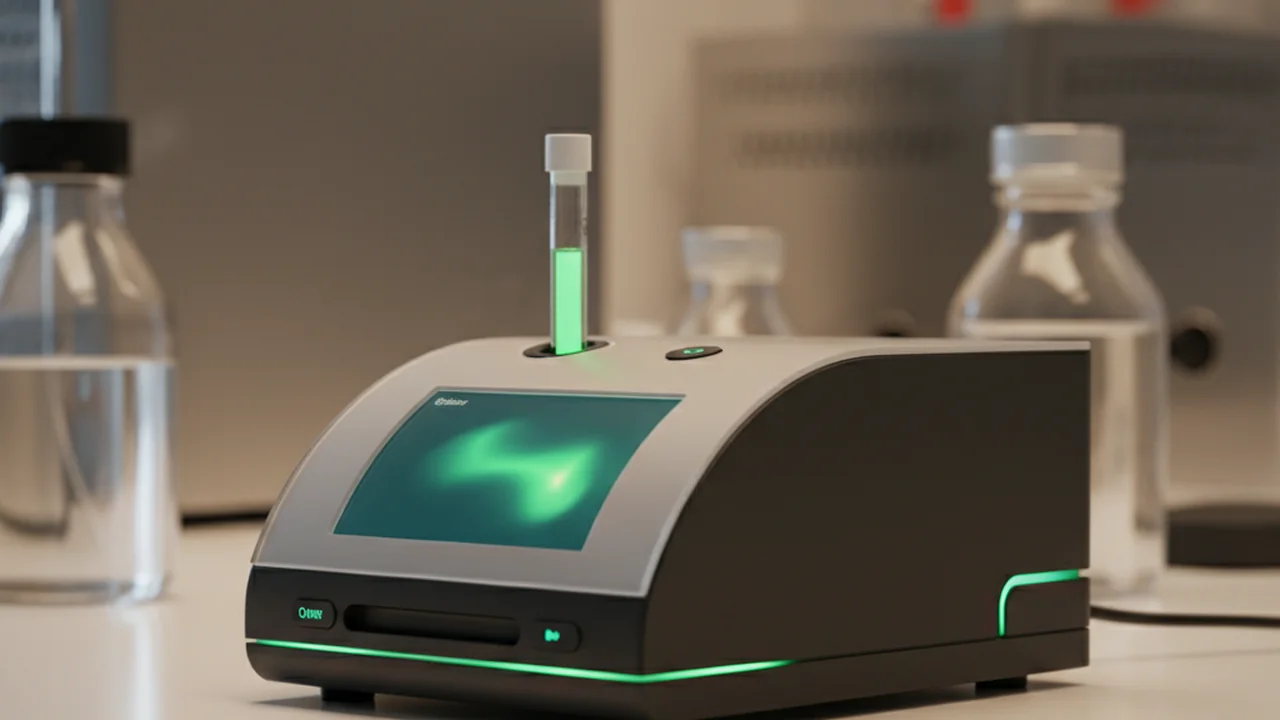
Accurate quantification of your adapter-ligated and purified DNA library is paramount for successful Nanopore sequencing. Loading too much DNA can clog the pores, while too little can result in low data yield. The goal is to load a precise amount, typically measured in femtomoles (fmol), onto the flow cell.
Quantify 1 µl using a Qubit fluorometer.
A Qubit fluorometer is preferred over a spectrophotometer (like a NanoDrop) because it uses fluorescent dyes that specifically bind to DNA (or RNA), providing a more accurate concentration measurement by distinguishing nucleic acids from other contaminants.
Target loading: 5–10 fmol on the flow cell.
This target range is critical. Nanopore sequencing performance is highly dependent on the number of active pores and the rate at which DNA molecules enter them. Loading within this recommended fmol range optimizes pore occupancy and ensures a consistent flow of molecules for sequencing, leading to high-quality data and efficient use of the flow cell.
Measuring DNA concentration with a spectrophotometer (e.g., NanoDrop) is sufficient for Nanopore sequencing.
Spectrophotometers measure all nucleic acids, proteins, and other aromatic compounds, leading to inaccurate DNA concentration. A Qubit fluorometer, which uses specific fluorescent dyes, provides a much more accurate and reliable measurement for delicate applications like Nanopore sequencing.
Accurate quantification using a fluorometer and precise fmol loading are crucial for maximizing Nanopore sequencing yield and ensuring high-quality data.
Using the NEB Online Calculator
To accurately convert your Qubit concentration (typically in ng/µl) into the required fmol for loading, you’ll use an online tool like the NEB online calculator. This tool accounts for the average length of your DNA fragments to provide an accurate fmol calculation.
Use NEB online calculator (nebiocalculator.neb.com):
- Do not enter a DNA sequence: For metagenomics, where you have a diverse mixture of DNA, entering a specific sequence is not applicable. The calculator typically uses an average molecular weight for DNA, which is sufficient for this purpose.
In a real-world metagenomics lab, precise quantification and calculation are not just academic exercises; they directly impact project timelines and budget. Under-loading can mean repeating an expensive sequencing run, while over-loading can waste precious flow cell capacity.
Why is it important to convert DNA concentration to femtomoles (fmol) rather than simply using nanograms (ng) for Nanopore sequencing loading?
What is the primary purpose of adapter ligation in the Nanopore sequencing workflow?
Describe a hypothetical scenario where neglecting precise quantification or proper bead cleanup could lead to a failed Nanopore sequencing run. What specific steps would be affected, and what would be the likely outcome?
Why is a Qubit fluorometer preferred over a spectrophotometer for final DNA quantification prior to Nanopore sequencing?
The success of a Nanopore sequencing run hinges on meticulous library preparation, where every microliter and femtomole counts.