How do we make the invisible visible, especially when dealing with tiny strands of DNA?
Imagine working with something so incredibly small that you can’t see it with your naked eye, even when it’s right in front of you. That’s often the case with DNA, especially after processes like PCR where you’ve amplified specific segments. How do you confirm you have what you expect? How do you know it’s the right size, and that your experiment was successful?
In this lesson, we’ll explore the essential technique of agarose gel electrophoresis, a powerful method that allows scientists to separate and visualize DNA fragments by size. We’ll walk through the practical steps of setting up and running a gel, and then dive into a scene-by-scene breakdown of a video demonstrating this crucial process.
Preparing for Visualization: Running the Gel
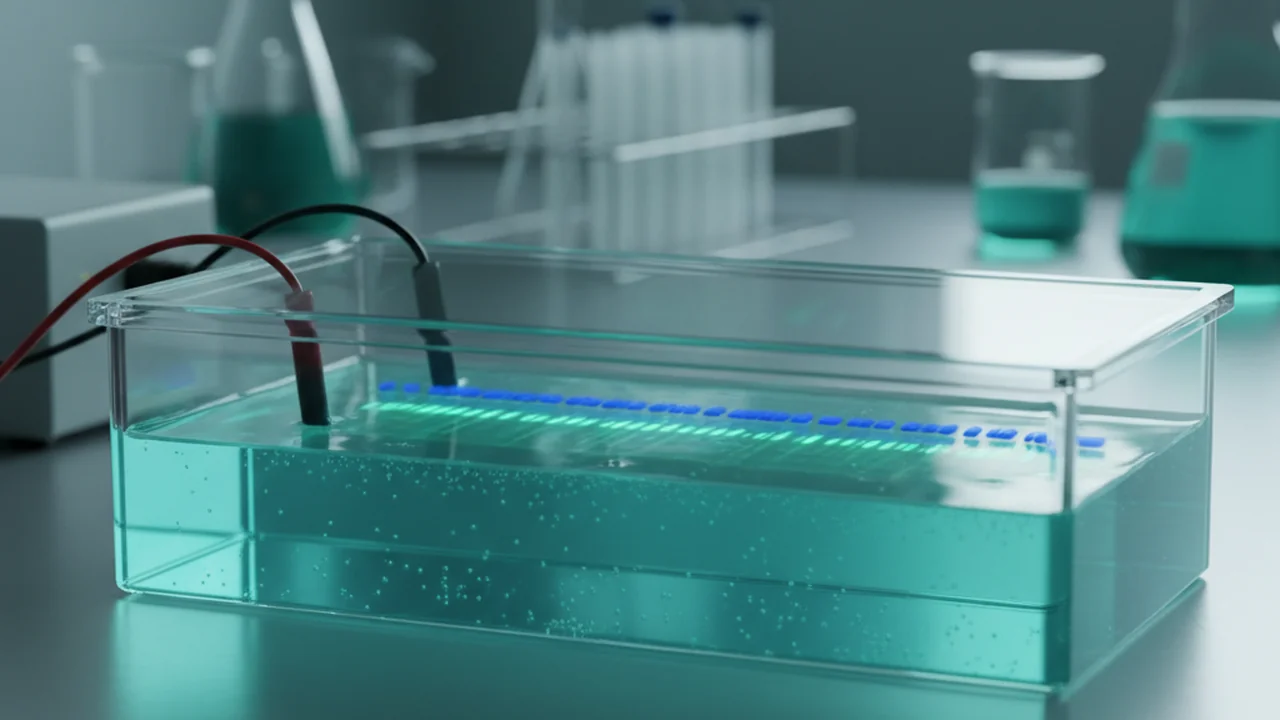
Before you can see your PCR product, you need to prepare and run an agarose gel. This involves several critical steps to ensure your DNA fragments separate correctly and can be visualized.
Follow these steps to load and run your PCR product on an agarose gel:
- Load your PCR product in the next well
- Attach the electrode lid (red to red, black to black)
- Run at appropriate voltage for ~30 minutes
- Visualize on UV light box
Why is it important to attach the electrode lid correctly (red to red, black to black)? What might happen if you reverse the polarity, and how would that affect your results?
Expected Result: Confirming Your DNA
After running and visualizing your gel, you’ll be looking for a specific outcome:
Look for a band at approximately 300 base pairs (the third band from the bottom of the 100 bp ladder). This confirms your DNA is free of inhibitors.
A fundamental unit of DNA, consisting of two nucleobases bound together by hydrogen bonds. The size of DNA fragments, such as those amplified by PCR, is often measured in base pairs (bp) or kilobase pairs (kb).
You can directly observe PCR products in a tube once they have been amplified.
PCR products are microscopic and require techniques like agarose gel electrophoresis and UV visualization with a DNA-binding stain to be seen as glowing bands.
- Agarose gel electrophoresis is a technique used to separate DNA fragments based on their size.
- Correctly attaching the electrode lid is crucial to ensure DNA migrates in the intended direction.
- A successful PCR product will appear as a band at an expected base pair size when visualized on a gel.
Understanding Agarose Gel Electrophoresis
An electric field pulls negatively charged DNA toward the positive electrode. The agarose mesh slows large fragments and lets small ones travel farther, sorting the DNA into bands by size.
To deepen your understanding of the process, let’s break down the key steps involved in agarose gel electrophoresis.
PCR products are too small to see in a tube. Agarose gel electrophoresis lets us separate DNA by size and visualize whether the expected band is present.
Agarose gel electrophoresis is a foundational technique used in countless molecular biology labs for applications like DNA fingerprinting, paternity testing, pathogen detection, verifying gene cloning success, and analyzing gene expression.
The first successful separation of proteins using electrophoresis was achieved in 1937 by Arne Tiselius, who later won the Nobel Prize in Chemistry for his work. His foundational principles paved the way for modern DNA electrophoresis techniques.
What is the primary purpose of agarose gel electrophoresis in molecular biology?
TAE (Tris-Acetate-EDTA) buffer is commonly used in agarose gel electrophoresis for several reasons. Tris provides the necessary pH buffering capacity, keeping the solution at a stable pH range (typically slightly alkaline) which is crucial for DNA stability and migration. Acetate acts as the counter ion, maintaining electrical conductivity. EDTA chelates divalent metal ions (like Mg²⁺) that are cofactors for many nucleases, which are enzymes that can degrade DNA. By chelating these ions, EDTA helps protect the DNA from degradation during the electrophoresis process, ensuring the integrity of the sample and accurate results.
Consider the “Running the gel” scene. How does the inherent negative charge of DNA facilitate its movement towards the positive electrode, and what role does the gel matrix’s pore size play in separating fragments by size?
During agarose gel electrophoresis, which DNA fragments typically travel fastest and farthest through the gel?
Agarose gel electrophoresis is a fundamental technique for visualizing and analyzing DNA fragments, allowing scientists to confirm the presence and size of specific PCR products by separating them in an electric field and comparing them against a known DNA ladder.
Reflect on the interpretation phase of gel electrophoresis. Why is the DNA ladder so crucial for accurate interpretation of your sample bands? What challenges might arise if a ladder were not used, and how would this impact the validity of your experimental results?