How do scientists prepare fragmented DNA for advanced sequencing, ensuring each sample is perfectly ready and uniquely identifiable for analysis?
Learning Outcomes
By the end of this lesson, you will be able to:
- Calculate DNA volume needed for 400 ng input.
- Explain end repair and dA-tailing.
- Describe barcode ligation.
- Explain multiplexing and pooled sample cleanup.
To deepen your understanding, we recommend reviewing:
Course Reading
OXFORD NANOPORE LIBRARY PREP — End Repair, dA-Tailing, and Barcoding
Library Prep Overview: Laying the Foundation for Sequencing
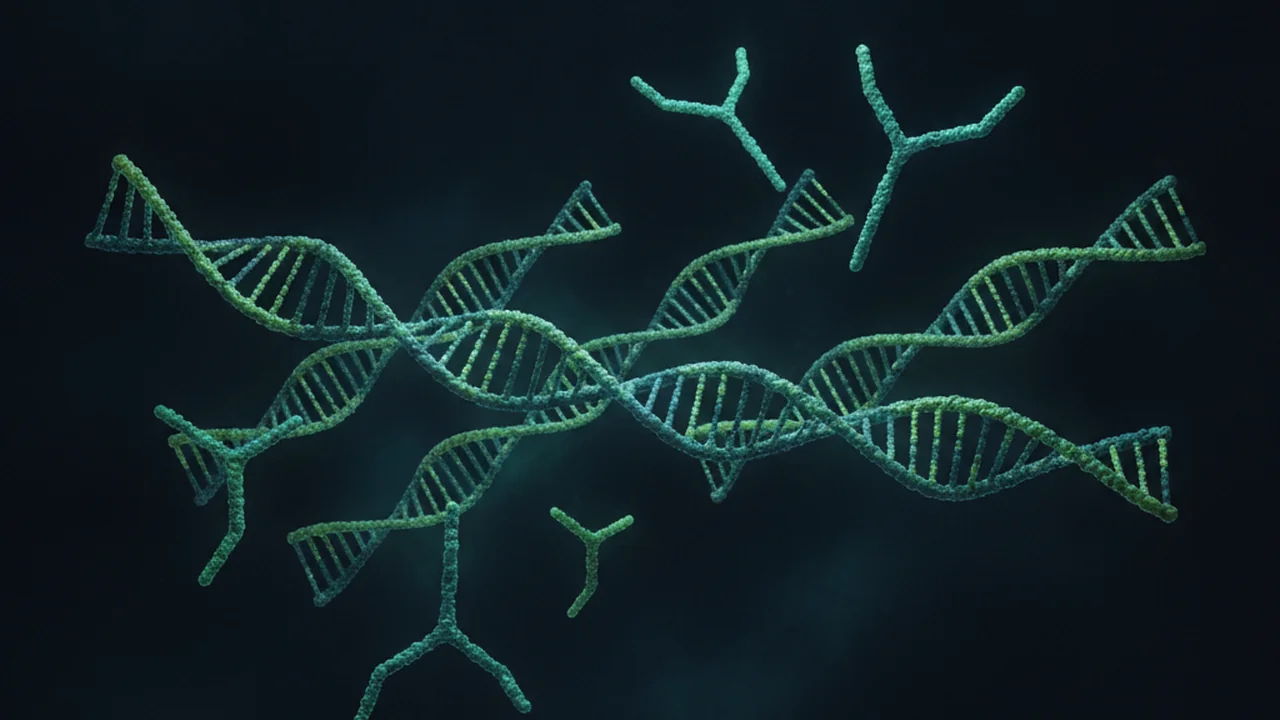
Preparing a DNA library is a critical initial step before sequencing, especially when using advanced platforms like Oxford Nanopore. This process transforms raw, fragmented DNA into a form that the sequencer can read efficiently. It involves several precise enzymatic reactions to ensure DNA fragments are compatible with the sequencing technology and can be tracked.
Oxford Nanopore sequencing is unique because it reads DNA by passing individual strands through tiny protein pores, detecting changes in electrical current. Proper library preparation ensures DNA fragments have the necessary adapters for this process.
The core steps in this stage of library preparation include:
- End Repair / dA-Tailing — repair fragmented DNA ends and add 3′ dA for barcode ligation
- Barcoding — ligate a unique barcode adapter to each sample
- Pool barcoded samples
- Ligate sequencing adapters
- Load onto flow cell
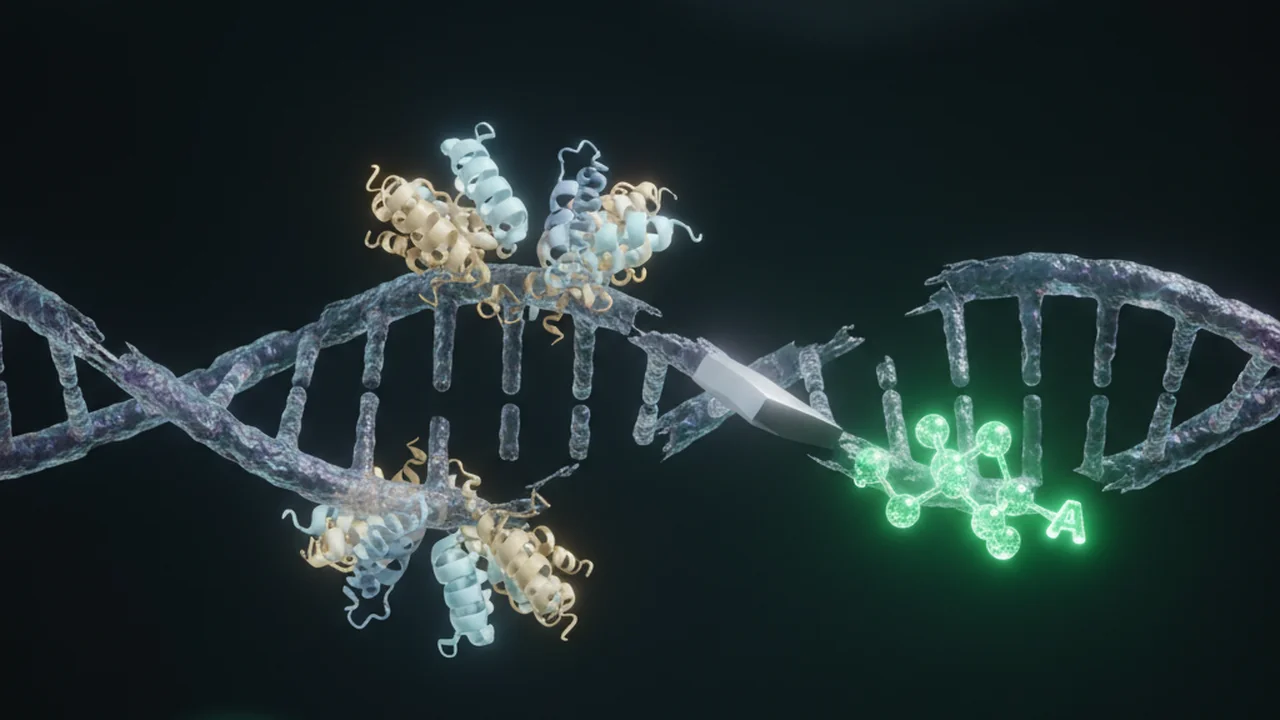
A crucial enzymatic process that converts any frayed, damaged, or uneven ends of fragmented DNA into blunt (smooth) ends, making them suitable for subsequent enzymatic reactions.
The targeted addition of a single deoxyadenosine (dA) nucleotide to the 3′ ends of blunt-ended DNA fragments. This creates a specific ‘A’ overhang, which is essential for the efficient and directional ligation of barcode adapters that typically carry a complementary ‘T’ overhang.
Want to go deeper? The Biochemistry of End Repair and dA-Tailing
End repair enzymes typically possess both 3′ to 5′ exonuclease and 5′ to 3′ polymerase activities. They work in tandem to ‘fill in’ any 5′ overhangs and remove 3′ overhangs, ultimately resulting in DNA fragments with perfectly blunt ends. Following this, an enzyme like the Klenow fragment (3′ → 5′ exo-) of DNA Polymerase I is often employed to add the single ‘A’ nucleotide to the 3′ end of these blunt fragments. This engineered ‘A’ overhang is specifically designed to facilitate ligation with adapters that have a complementary ‘T’ overhang, ensuring a robust and directional attachment of the necessary sequencing adapters.
Consider why blunt ends and a specific 3′ dA overhang are necessary for successful library preparation. What might happen if the DNA ends were still jagged or lacked the ‘A’ tail?
Step 1: End Repair / dA-Tailing — Practical Application
Before proceeding with any enzymatic reactions, precise measurement of your DNA input is paramount. Too much or too little DNA can severely impact the success and yield of your library. Let’s practice calculating the required DNA volume, a fundamental skill in molecular biology.
Calculate DNA volume for 400 ng input:
Volume = DNA needed / concentration
Example: 400 ng ÷ 200 ng/µl = 2 µl
Using the formula above, calculate the DNA volume you would need if your target input was 500 ng and your DNA sample concentration was 125 ng/µl.
- Identify the “DNA needed” (target input).
- Identify the “concentration” of your DNA sample.
- Apply the formula: Volume = DNA needed / concentration.
- State your answer in microliters (µl).
In a real laboratory setting, accurate pipetting and calculation of reagent volumes are non-negotiable. Even a small error here can propagate through the entire workflow, leading to wasted reagents, failed sequencing runs, and ultimately, invalid data.
- You’ve learned the initial enzymatic steps of Oxford Nanopore library prep: end repair and dA-tailing, and their specific purposes.
- You can now calculate the necessary DNA volume for a reaction based on a target input amount and sample concentration.
Master Mix and Sample Setup: Ensuring Consistency and Efficiency
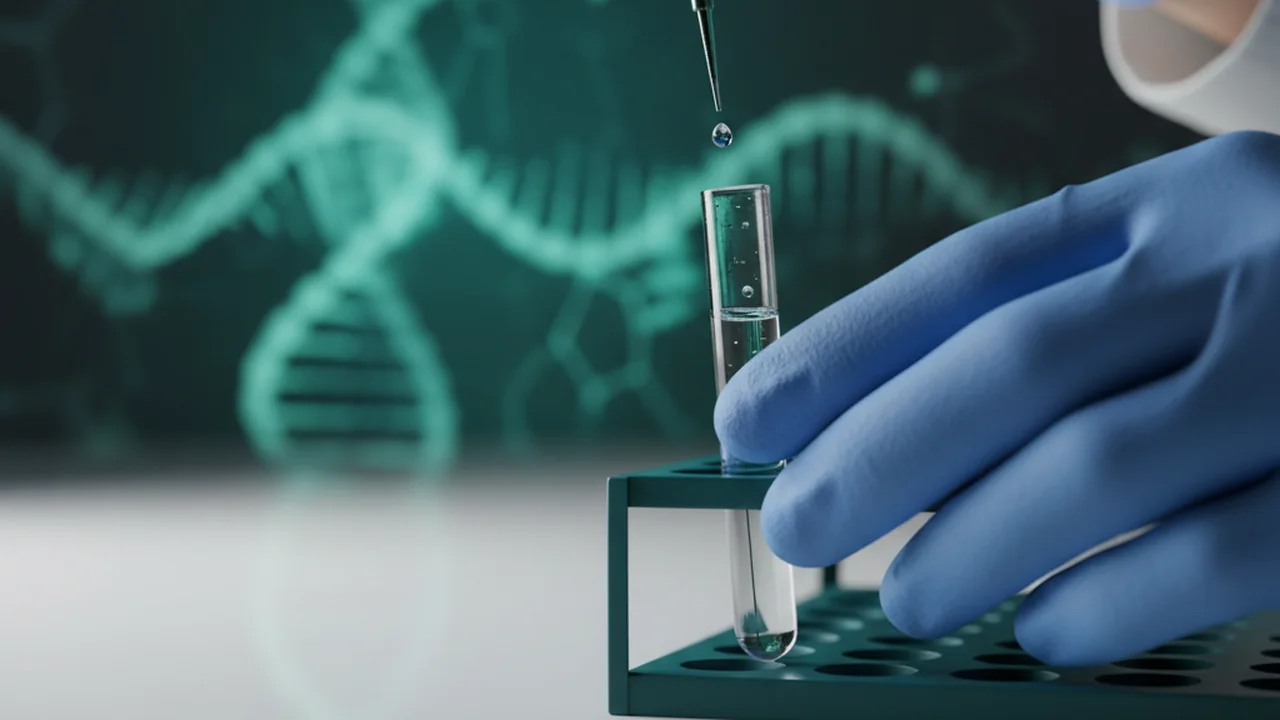
To ensure consistency across multiple samples and minimize pipetting errors, reagents for enzymatic reactions are often combined into a ‘Master Mix’ before being added to individual DNA samples. This standardizes the reaction conditions for all samples undergoing the same treatment, reducing variability.
Master Mix (provided as combined tube):
This pre-mixed solution contains all the necessary enzymes and buffers for the end repair and dA-tailing steps.
- NEBNext FFPE DNA Repair Buffer: 0.875 µl
- Ultra II End-prep reaction buffer: 0.875 µl
- Ultra II End-prep enzyme mix: 0.75 µl
- NEBNext FFPE DNA Repair Mix: 0.5 µl
- Total Master Mix: 3 µl
Practitioner Tip: Always prepare master mixes with a slight excess (e.g., 10-15% more than calculated) to account for minor pipetting losses and ensure enough volume for all reactions. Mix gently but thoroughly (e.g., by flicking or brief vortexing followed by a quick spin) before aliquoting to ensure homogeneity.
Sample Setup (12 µl total):
The total volume for each reaction is critical for optimal enzyme activity. After adding the Master Mix and your calculated DNA volume, nuclease-free water is used to bring the reaction to its final volume, ensuring optimal enzyme activity and consistent reaction conditions across all samples.
- 3 µl Master Mix
- X µl DNA (your calculated volume based on 400 ng input)
- Y µl nuclease-free water (Y = 12 – X – 3)
A frequent error for new technicians is forgetting to account for the nuclease-free water (Y µl), assuming they only need to add the DNA and the Master Mix. This results in a reaction volume less than the intended 12 µl.
Always calculate the volume of nuclease-free water (Y) needed to reach the total reaction volume (12 µl in this case). This step is crucial for maintaining the correct concentration of enzymes and buffers, ensuring optimal reaction performance and consistency.
Reflect on the importance of meticulous calculation and preparation, particularly when dealing with master mixes and final reaction volumes in molecular biology. How might a small error at this stage cascade and affect the final sequencing results or reproducibility across multiple samples?
What is the primary function of the end repair step in Oxford Nanopore library preparation?
If you need 600 ng of DNA for a reaction and your DNA concentration is 150 ng/µl, what volume of DNA should you add?
End Repair / dA-Tailing — repair fragmented DNA ends and add 3′ dA for barcode ligation.
The initial enzymatic steps of Oxford Nanopore library preparation, including end repair and dA-tailing, are fundamental for modifying DNA fragment ends to ensure compatibility with sequencing adapters and efficient downstream ligation processes.
Accurate quantification of DNA input, meticulous calculation of reagent volumes, and careful preparation of master mixes are critical for the success, consistency, and reproducibility of molecular biology experiments.
The Shift
- Library preparation is an essential multi-step process that transforms raw, fragmented DNA into a sequencing-ready format, beginning with end repair and dA-tailing.
- End repair specifically creates blunt DNA ends, and dA-tailing adds a crucial ‘A’ overhang, both of which are vital for the subsequent, efficient ligation of barcode adapters.
- Precision in DNA quantification, careful reagent mixing, and accurate adjustment for nuclease-free water are paramount for maintaining optimal reaction conditions and ensuring the success and reproducibility of molecular biology experiments.