How do we ensure our extracted DNA samples are pure enough for the complex molecular journey of metagenomics?
The Challenge of DNA Purity
Before proceeding with advanced sequencing library preparation, a critical step is to verify the quality and purity of your extracted DNA. Even small amounts of inhibitors—substances that can interfere with molecular reactions—can derail an entire experiment. This is where Polymerase Chain Reaction (PCR) becomes an invaluable diagnostic tool.
PCR allows us to quickly test whether the extracted DNA is compatible with downstream molecular biology reactions, providing a crucial checkpoint in your metagenomics workflow.
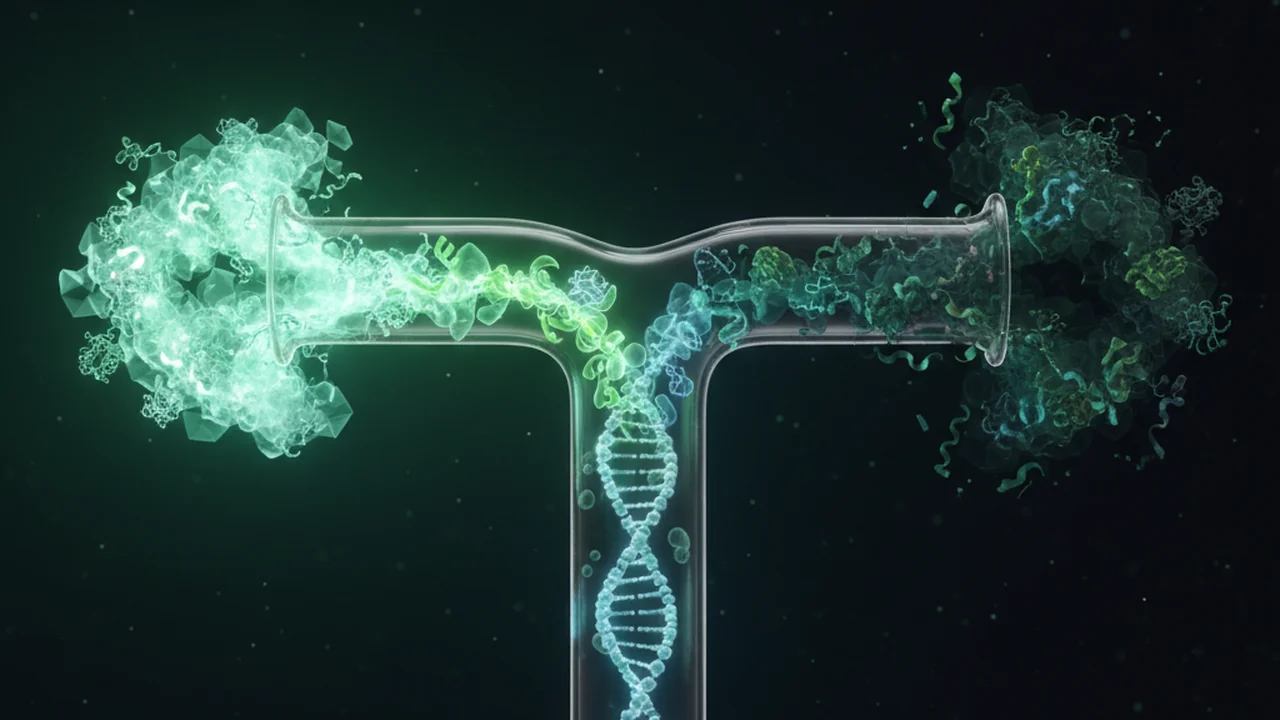
Understanding Polymerase Chain Reaction (PCR)
At its core, Polymerase Chain Reaction, or PCR, is a powerful technique used to make many copies of a selected DNA segment. It’s like a molecular photocopier for DNA, capable of amplifying a single strand into billions of copies in just a few hours. This process relies on specific primers to choose and target the desired region of DNA, then cycles through carefully controlled temperatures that separate, bind, and copy the DNA strands.
A molecular biology technique used to amplify a single copy or a few copies of a piece of DNA across several orders of magnitude, generating thousands to millions of copies of a particular DNA sequence.
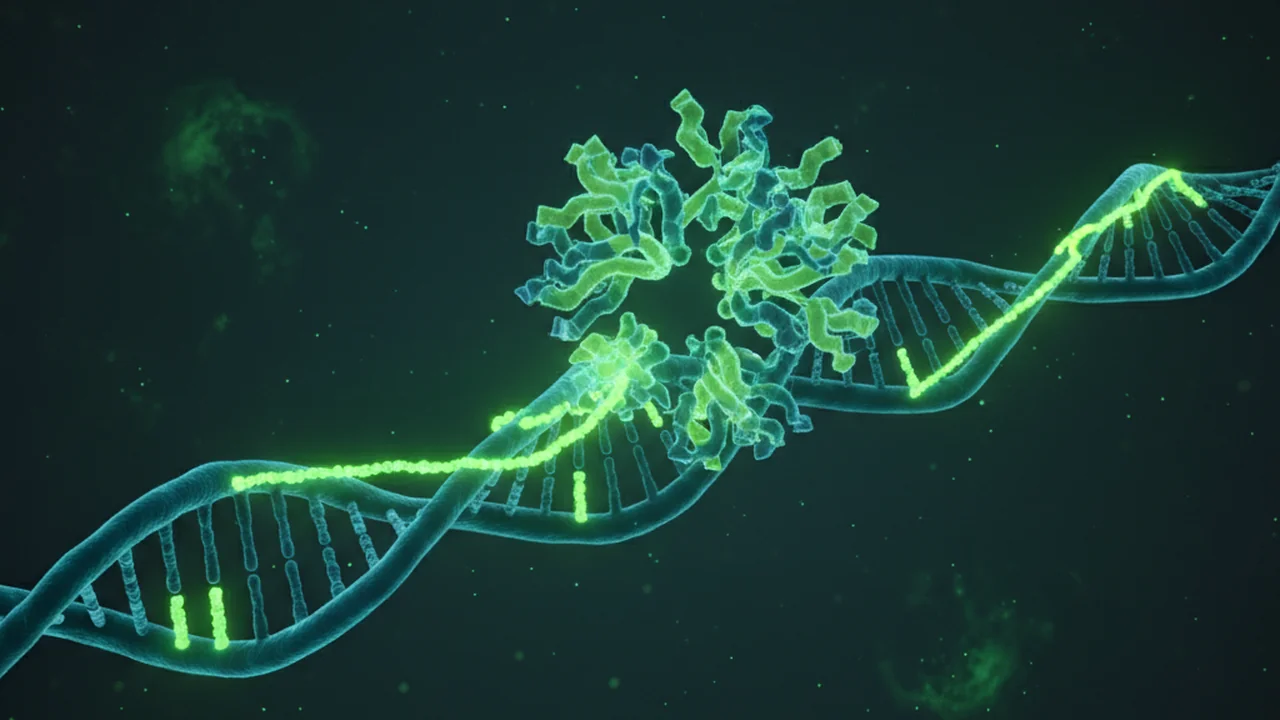
Consider the importance of specificity in PCR. How do primers ensure that only the desired DNA segment is amplified?
- PCR is a crucial quality control step for DNA purity before sequencing.
- It amplifies specific DNA segments using primers and temperature cycles.
- Successful amplification indicates DNA is free of significant inhibitors.
Targeting the 16S V4 Region for Purity Testing
For this protocol, we specifically amplify the V4 portion of the 16S ribosomal DNA (rDNA) gene. It’s important to understand that the primary goal here is not to identify all organisms present in the sample, but rather to test whether inhibitors were removed effectively enough for any amplification to occur. The 16S rDNA gene is highly conserved across bacteria and archaea, yet contains hypervariable regions (like V4) that are unique enough to be useful for both identification and, in this case, a general test of amplification readiness.
The 16S rDNA gene is a common target in metagenomics because its combination of conserved and variable regions allows for both broad detection of bacteria and archaea, and differentiation between species.

Beyond purity testing, 16S rRNA gene sequencing is a cornerstone of microbial ecology, used to profile bacterial communities in diverse environments, from the human gut to ocean water, without needing to culture individual species.
Setting Up the PCR Reaction
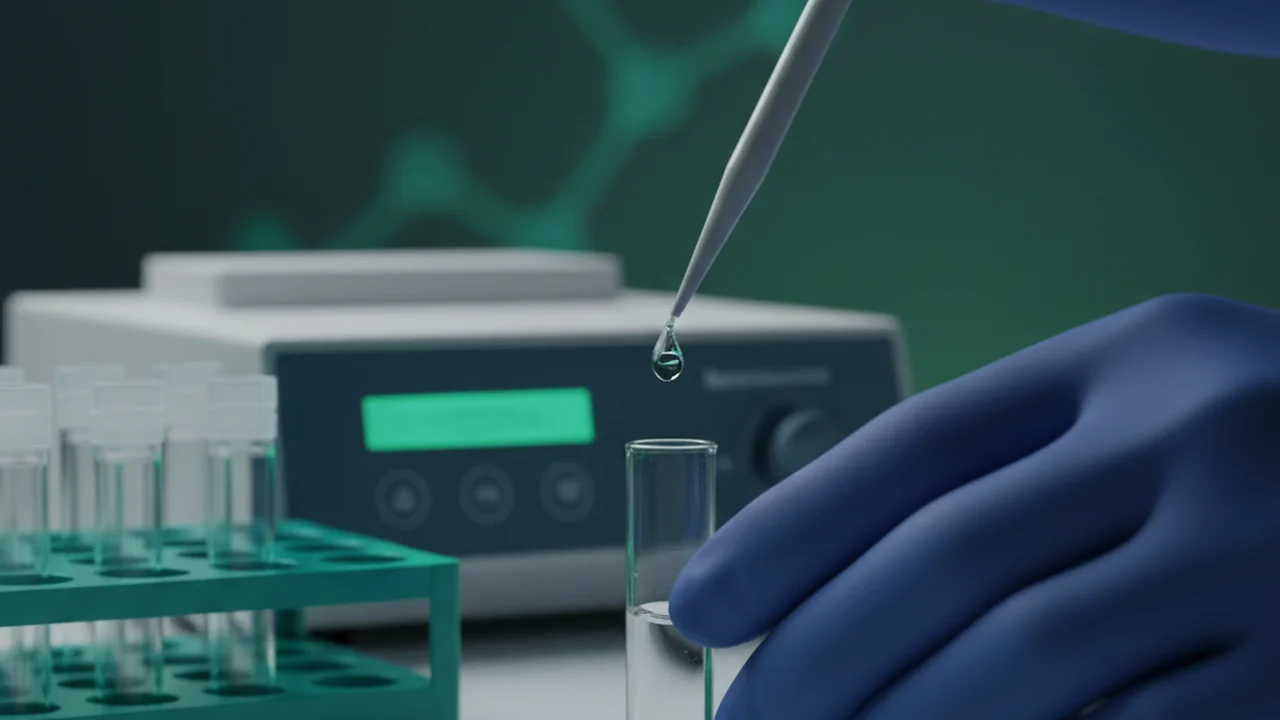
The physical setup of a PCR reaction is straightforward but requires precision. Learners typically receive a tube pre-filled with a PCR master mix, which contains all the necessary reagents for amplification: DNA polymerase, primers, dNTPs (DNA building blocks), and reaction buffer. Your task is to add one microliter of your extracted DNA sample to this master mix.
After adding the DNA, gently mix the contents of the tube, often by a light tap or flick, and then perform a quick spin-down in a microcentrifuge to collect all the liquid at the bottom. Finally, the tube is carefully placed into a thermal cycler, the instrument that will precisely control the temperature cycles required for PCR.
Imagine you are in the lab, preparing your PCR tube. Describe the sequence of actions you would take to ensure a clean and accurate reaction setup.
- Retrieve all necessary reagents and equipment.
- Pipette the extracted DNA into the master mix tube.
- Gently mix and spin down the tube.
- Load the tube into the thermal cycler.
The Thermal Cycling Logic
The heart of PCR lies in its thermal cycling, a series of rapid temperature changes that drive the DNA amplification process. A typical cycle, repeated about 30 times, consists of three main steps:
The DNA polymerase used in PCR, commonly Taq polymerase, is derived from the thermophilic bacterium Thermus aquaticus, which thrives in hot springs. This enzyme is exceptionally heat-stable, meaning it can withstand the high denaturation temperatures (95°C) without denaturing itself. This characteristic is what made PCR automation possible, as the enzyme doesn’t need to be added fresh after each denaturation step.
- Denaturation (95°C): At 95 degrees Celsius, the high temperature causes the double-stranded DNA to separate, or “denature,” into single strands. This provides the templates for new DNA synthesis.
- Primer Binding (51°C): The temperature is then lowered to 51 degrees Celsius, allowing the short DNA primers to “anneal” or bind to their complementary target sequences on the single-stranded DNA templates. This step is critical for ensuring specificity.
- Extension (72°C): Finally, the temperature is raised to 72 degrees Celsius, the optimal temperature for the heat-stable DNA polymerase to “extend” the new strand. Starting from the bound primers, the polymerase adds complementary nucleotides, synthesizing a new double-stranded DNA molecule.
Repeating this cycle 30 times exponentially amplifies the target DNA, generating millions of copies from just a few starting molecules.
Why is it crucial for the denaturation step to be at such a high temperature, and what would happen if it were too low?
Which of the following describes the correct sequence and purpose of the three main steps in a PCR thermal cycle?
Interpreting the Expected Product
The ultimate goal of this PCR step is to produce a visible DNA fragment of a specific size. If the extracted DNA is free of major inhibitors and the reaction proceeds successfully, the PCR should produce an approximately 300 base pair (bp) product, corresponding to the amplified 16S V4 region. The presence of this band confirms that your DNA is pure enough for amplification and ready for the next stages of metagenomics analysis.
A successful PCR reaction means you’ve identified all the organisms in your sample.
In this context, successful PCR primarily confirms the purity and amplifiability of your DNA. While the 16S V4 region is used for microbial identification in later steps, this PCR acts as a quality control check, not a full taxonomic identification.
Bridging to Visualization: Agarose Gel Electrophoresis
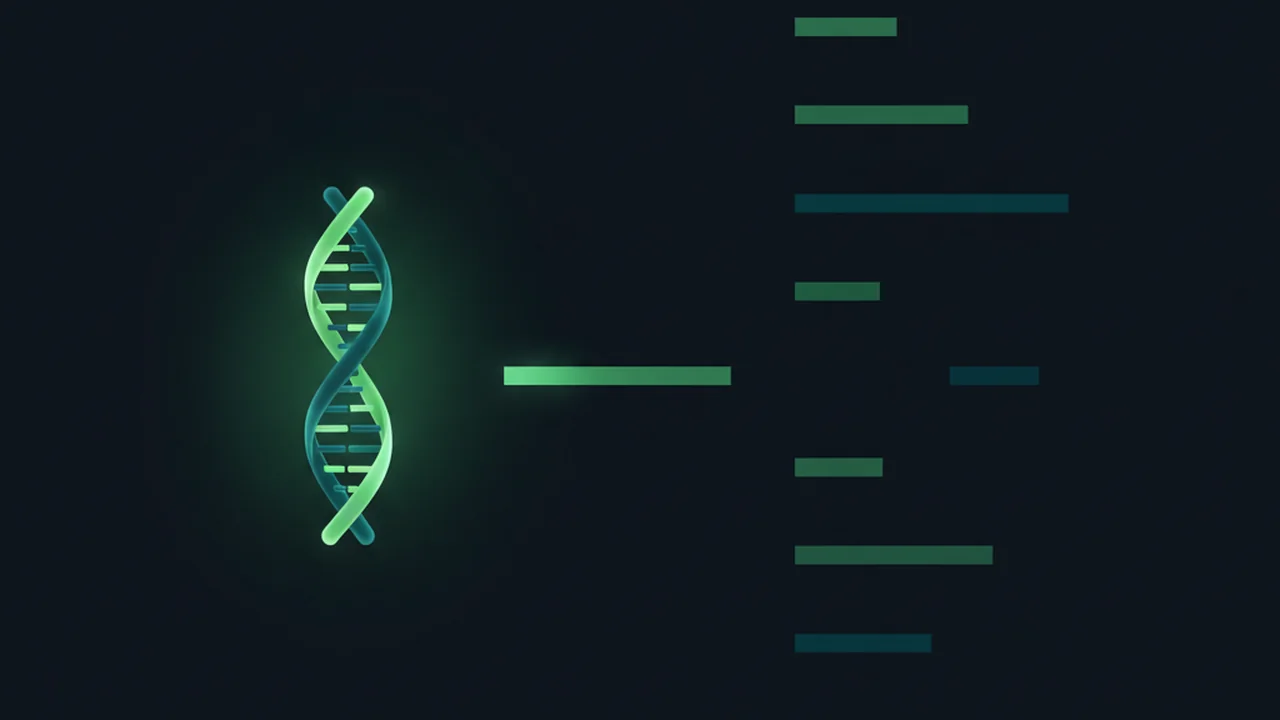
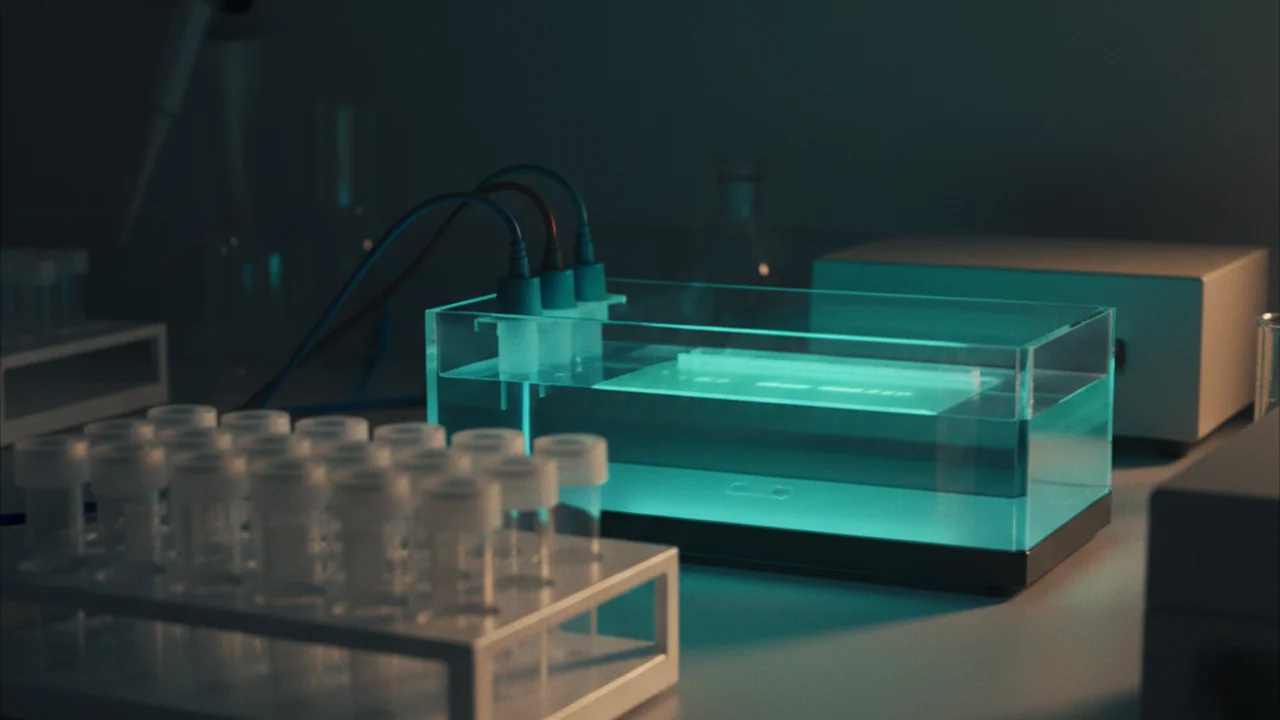
PCR creates millions of copies of DNA, but the reaction itself doesn’t offer a visual confirmation of success. We still need a way to see whether the expected product exists and to verify its size. That is where agarose gel electrophoresis comes in.
PCR creates DNA copies, but we still need to see whether the expected product exists. That is where agarose gel electrophoresis comes in.
Agarose gel electrophoresis is the next crucial step, allowing us to separate DNA fragments by size and visualize them, confirming the presence of our 300 bp 16S V4 product and ruling out non-specific amplification or the absence of a product due to inhibitors.
Reflect on a potential scenario where a PCR reaction fails (e.g., no product, incorrect size product). What are some troubleshooting steps you might consider, based on your understanding of the PCR process and the purpose of this purity test?
What is the primary instructional objective of using PCR to amplify the 16S V4 region in this metagenomics mini-course?
PCR is an essential quality control step in metagenomics, used to confirm the purity and amplifiability of extracted DNA by targeting a specific region like 16S V4, thereby ensuring samples are ready for downstream molecular analyses.