How do we isolate the invisible genetic blueprint from a complex environment like soil?
Unlocking the secrets hidden within environmental samples often begins with a fundamental step: DNA extraction. From a handful of soil, scientists can uncover a universe of microbial life, but first, they must efficiently separate the precious genetic material from a myriad of inhibitors and cellular debris. This lesson guides you through the meticulous process of extracting DNA from soil using a magnetic bead-based protocol, transforming a complex lab workflow into a clear, visual journey.
The Challenge: Extracting DNA from Soil
Soil is an incredibly complex matrix, teeming with diverse living cells, organic material, minerals, and various inhibitors that can interfere with downstream molecular analyses. The primary goal of DNA extraction is to effectively free the DNA from these cells and then separate it from all the other components that could contaminate or degrade it.
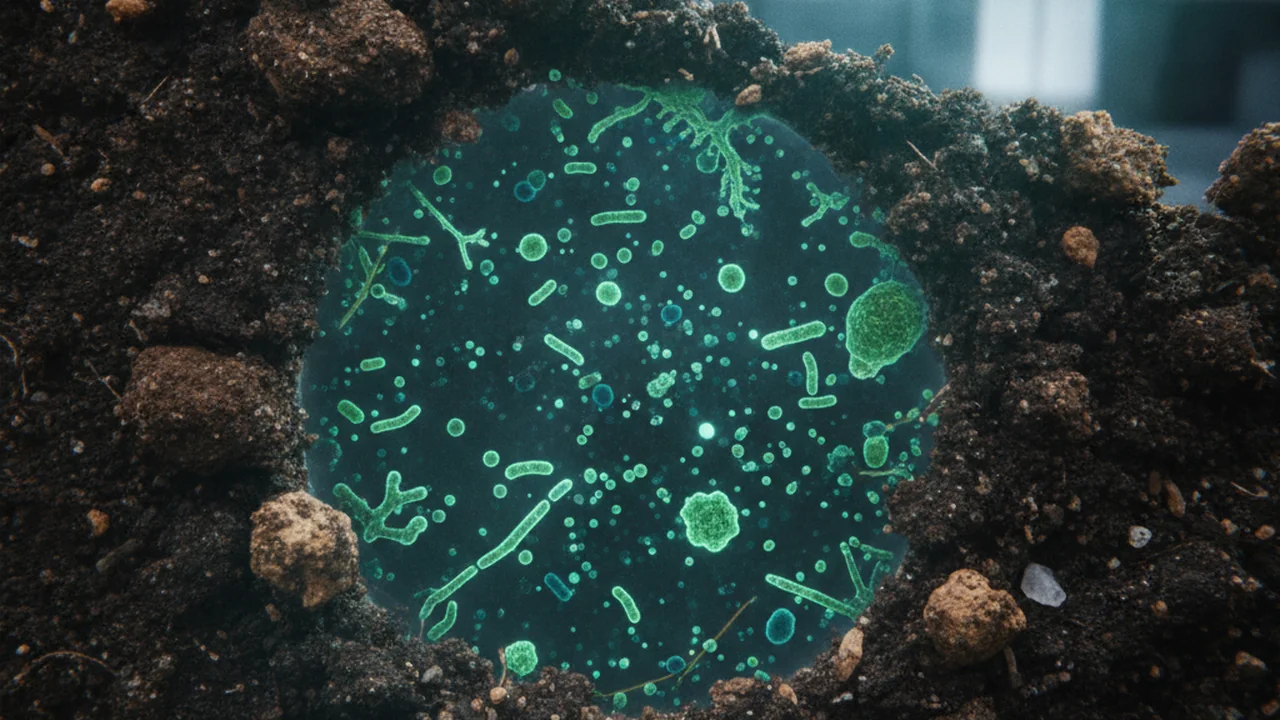
Consider the diverse range of organisms that might exist in a single gram of soil. What challenges might their varied cell walls or membranes pose for DNA extraction?
Step 1: Loading the Sample and Lysis
The protocol begins by accurately transferring a measured amount of soil, typically 250 mg, into a specialized bead tube. Following this, lysis buffer is carefully pipetted into the tube. This buffer is crucial; it contains chemicals designed to help break open the cell walls and membranes of the diverse microorganisms present in the soil, effectively releasing their DNA into the solution.
Step 2: Mechanical Disruption
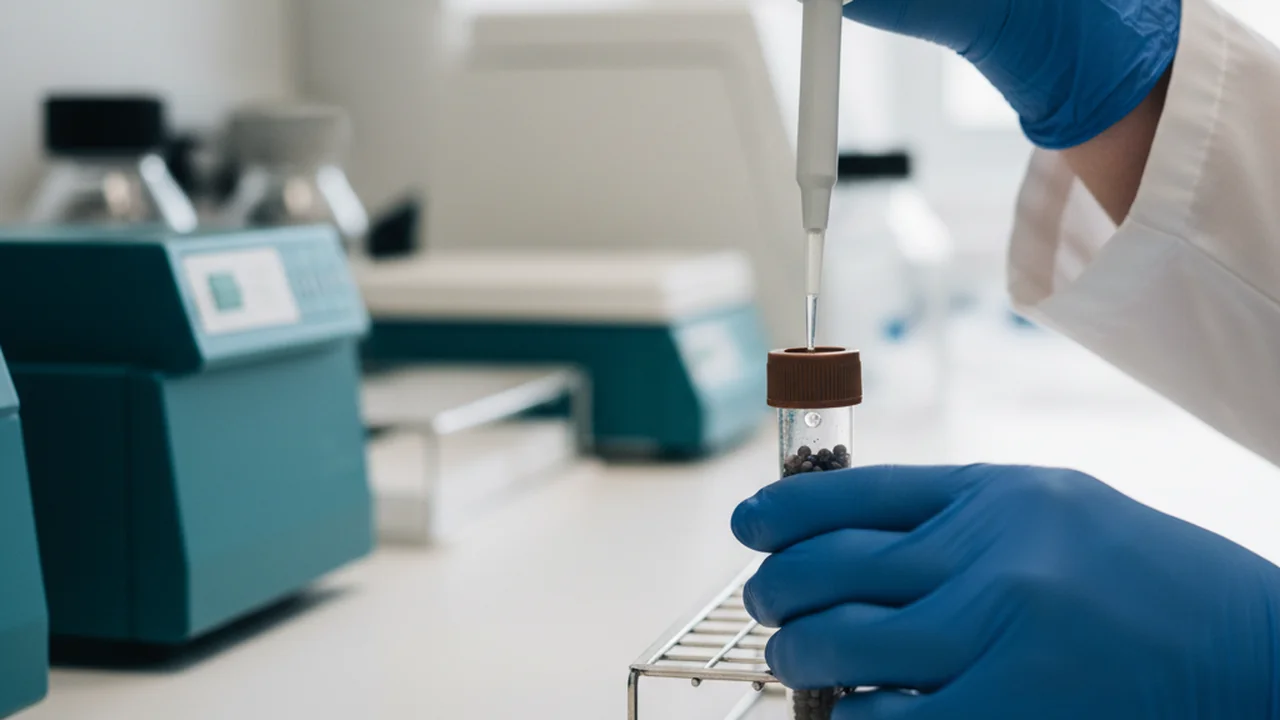
Once the soil and lysis buffer are combined, the bead tube undergoes a vigorous vortexing process. This creates significant mechanical force, causing the tiny beads inside the tube to collide intensely with the sample. This physical agitation is highly effective in disrupting cells, especially those with robust cell walls, ensuring that as much genetic material as possible is released into the solution.
Bead beating is a powerful method for mechanical lysis, particularly effective for tough-to-lyse organisms like fungi, gram-positive bacteria, and spores. The size, density, and material of the beads (e.g., ceramic, glass, zirconia) are chosen based on the sample type and target organism. The rapid, high-energy collisions generated during vortexing or bead mill agitation literally pulverize cells, releasing their intracellular contents, including DNA, RNA, and proteins, into the surrounding buffer. This method minimizes DNA shearing compared to other mechanical methods like sonication if optimized properly.
Imagine you’re setting up this experiment. On a piece of paper or digitally:
- Draw a microfuge tube containing soil and lysis buffer.
- Add several small beads within the tube.
- Sketch arrows indicating the motion during vortexing and how the beads might interact with a trapped cell.
- Label “DNA” being released from the cell.
Step 3: Clarification and Protein Digestion
After mechanical disruption, the sample is spun in a centrifuge. This step separates the heavier soil particles and cellular debris from the liquid layer containing the released DNA. A portion of this clarified liquid is then transferred to a new tube and treated with Proteinase K. Proteinase K is an enzyme specifically chosen for its ability to break down proteins, which, if left unchecked, could contaminate the extracted DNA or inhibit downstream enzymatic reactions.
Centrifugation speed (measured in rpm or RCF) and duration are critical. Too slow, and particles won’t separate; too fast, and fine debris might be pelleted with your target molecules. Optimization is key for clear supernatant.
A broad-spectrum serine protease that is active over a wide range of pH and temperatures, making it ideal for digesting unwanted proteins during nucleic acid purification without degrading the DNA itself.
- We’ve successfully broken open cells and started to clean up the crude extract.
- Proteinase K targets protein contaminants, preparing the sample for DNA isolation.
Step 4: DNA Binding to Magnetic Beads
With the cells lysed and proteins digested, the next critical step is to selectively capture the DNA. This is achieved by adding a binding bead mix. These specialized magnetic beads have a surface chemistry designed to bind DNA strands under specific buffer conditions. From this point onward, the DNA is no longer just floating freely in solution; it is securely captured on the surfaces of these magnetic beads, making it easy to manipulate and purify.
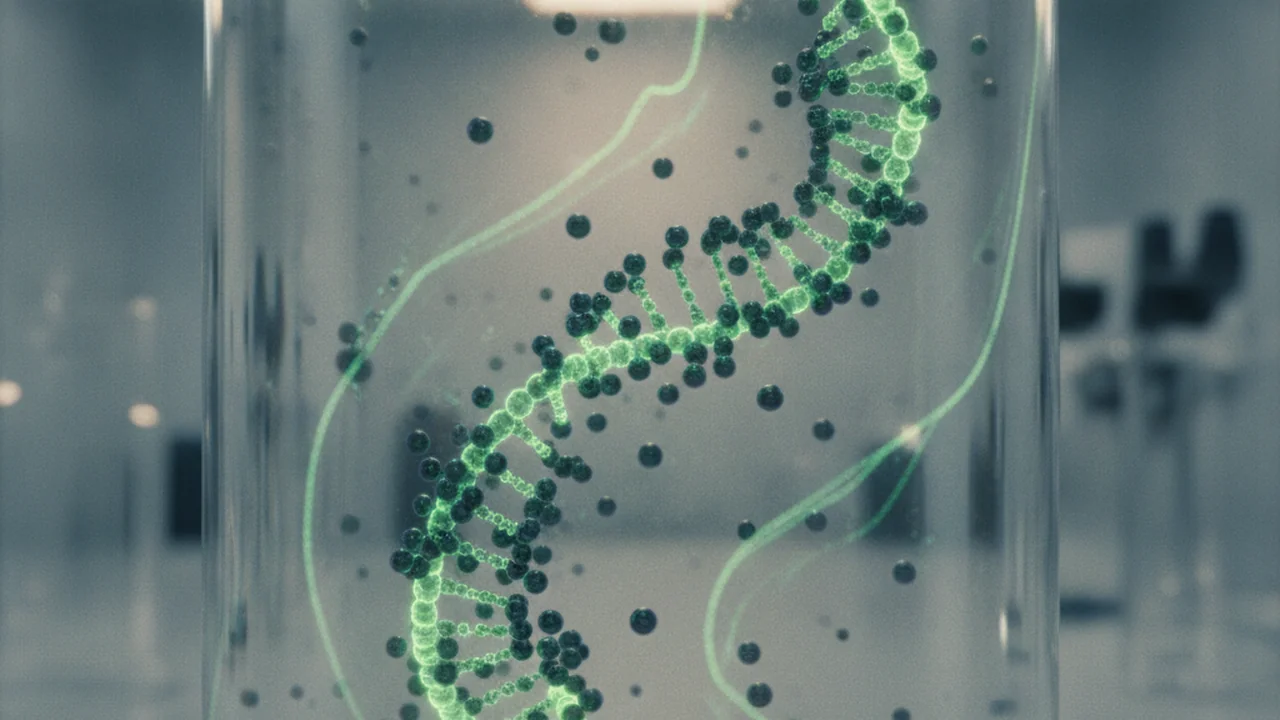
Why is it advantageous for the DNA to be “captured on bead surfaces” rather than remaining freely floating in solution?
Step 5: Magnetic Separation and Wash Cycles
Now that the DNA is bound, purification can begin. The tube is placed on a magnetic stand, which creates a strong magnetic field. This field pulls the DNA-bound beads to the side of the tube, forming a pellet. The unwanted liquid, known as the supernatant, which contains salts, proteins, and other contaminants, can then be carefully removed while the DNA-bound beads remain behind. This process is repeated with several wash steps, typically using wash buffer and ethanol, to thoroughly remove any remaining contaminants, ensuring a high-purity DNA sample.
Skipping wash steps won’t significantly impact downstream experiments if the DNA concentration is high.
Incomplete washing leaves behind inhibitors (salts, proteins, humic acids) that can severely hinder PCR amplification, sequencing, and other sensitive molecular assays, even with high DNA quantity.
What is the primary purpose of the wash steps in magnetic bead-based DNA extraction?
Step 6: Elution – Releasing the DNA
Finally, with the DNA purified and bound to the beads, the last step is to release it into a clean, usable form. Elution buffer, typically a low-salt buffer or nuclease-free water, is added to the beads. The sample is then often heated, which helps to destabilize the DNA-bead interaction. After a brief incubation, the tube is placed back on the magnet. The beads are again pulled to the side, but this time, the DNA has been released into the elution buffer, forming a clear liquid that is carefully transferred to a clean, labeled tube. This tube now contains the extracted, purified DNA, ready for analysis.
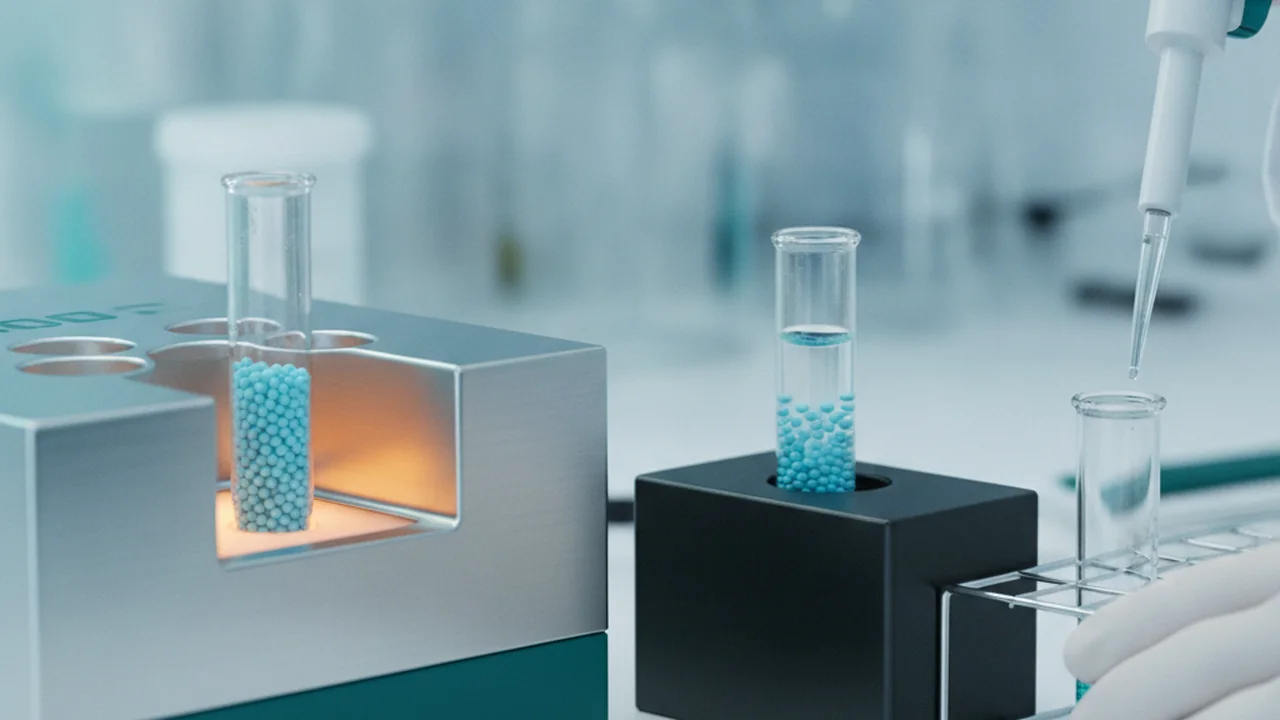
Different elution buffers can optimize DNA recovery for specific downstream applications. For example, some labs use warm Tris-EDTA (TE) buffer for long-term storage, while others prefer nuclease-free water for applications sensitive to EDTA.
Imagine you are a lab technician performing this protocol for the first time. What is one step you would pay extra attention to, and why is that precision important for the overall success of the extraction?
Quality Matters: The Next Step is Quantitation
The journey doesn’t end with a tube of extracted DNA. The extracted DNA is only truly useful if it is present in sufficient quantity and pure enough for subsequent downstream experiments, such as PCR, sequencing, or cloning. That is why the immediate next step after extraction is quantitation. Techniques like spectrophotometry (measuring absorbance at 260 nm and 280 nm for purity ratios) or fluorometry (using DNA-binding dyes) are used to assess both the concentration and purity of the extracted genetic material.
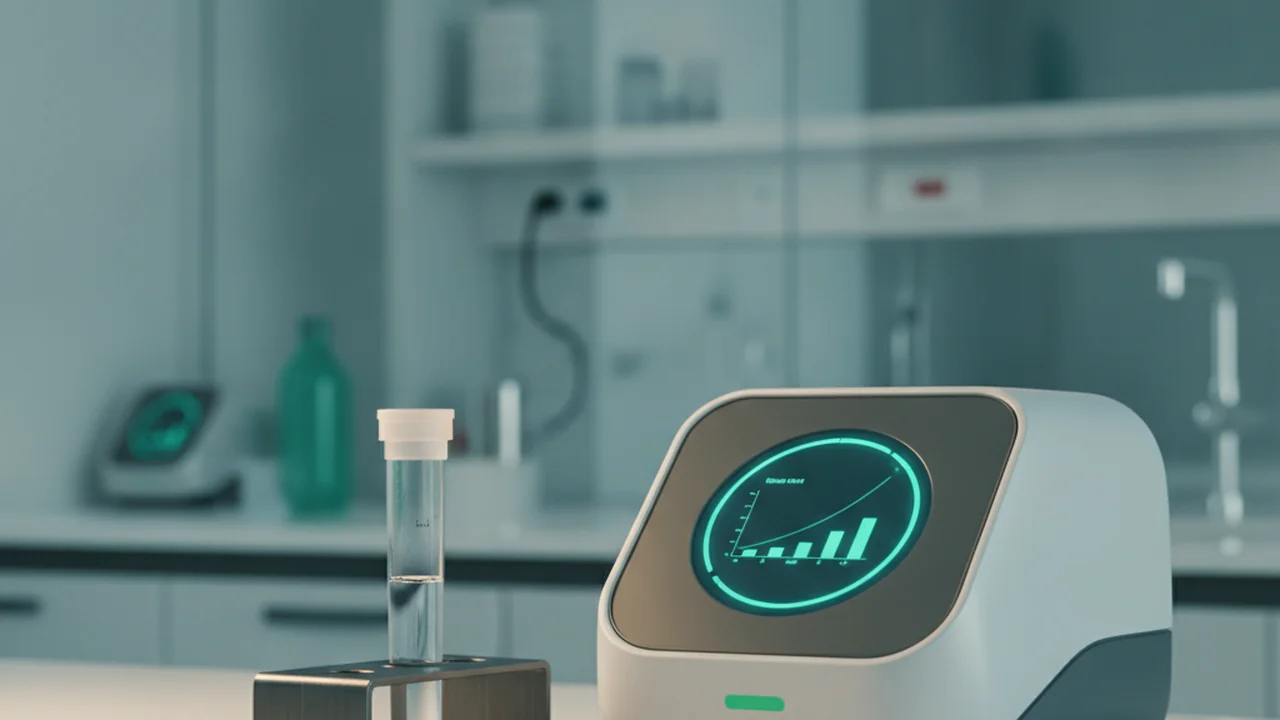
The extracted DNA is only useful if it is present in enough quantity and pure enough for downstream experiments.
Successful DNA extraction is not just about obtaining DNA, but about obtaining DNA of sufficient quantity and purity to enable reliable and accurate downstream molecular analyses.
Beyond simply extracting DNA, what two critical factors determine if the extracted DNA is “useful” for downstream experiments?
The Shift
- DNA extraction from complex samples like soil involves a multi-step process to lyse cells, bind DNA, wash away contaminants, and finally elute the pure DNA.
- Mechanical disruption (bead beating) and enzymatic digestion (Proteinase K) are critical for breaking down cells and removing proteins that could interfere with DNA integrity.
- The success of DNA extraction is ultimately measured by both the quantity and purity of the isolated DNA, which are essential for reliable downstream metagenomic applications.