How do scientists efficiently isolate the genetic blueprints of microbial life from complex environmental samples like soil?
Metagenomics allows us to study the genetic material of entire microbial communities directly from environmental samples, without needing to culture individual organisms. This revolutionary approach provides insights into biodiversity, ecosystem function, and the discovery of new genes and enzymes. However, the first crucial step in any metagenomic study is robust and efficient DNA extraction.
Soil, in particular, is an incredibly complex matrix, teeming with living cells, organic matter, minerals, and various inhibitors that can interfere with downstream analyses. Successfully separating DNA from this intricate mixture is both an art and a science, requiring precise protocols to ensure high yield and purity.
In this lesson, we’ll walk through the critical steps of a DNA extraction protocol. This will highlight the mechanical, chemical, and magnetic forces at play to liberate, purify, and concentrate DNA from a soil sample.
DNA Extraction: From Soil to Solution
The following section outlines the key stages of DNA extraction from a soil sample, covering everything from initial sample loading to the use of magnetic beads for purification and the final elution of the DNA.
Extraction Goal
At the outset, soil enters a bead tube, where cells are trapped among the various soil particles. The goal is clear: soil contains living cells, organic material, minerals, and inhibitors. DNA extraction is the process of freeing the DNA and separating it from the rest.
Loading the Sample
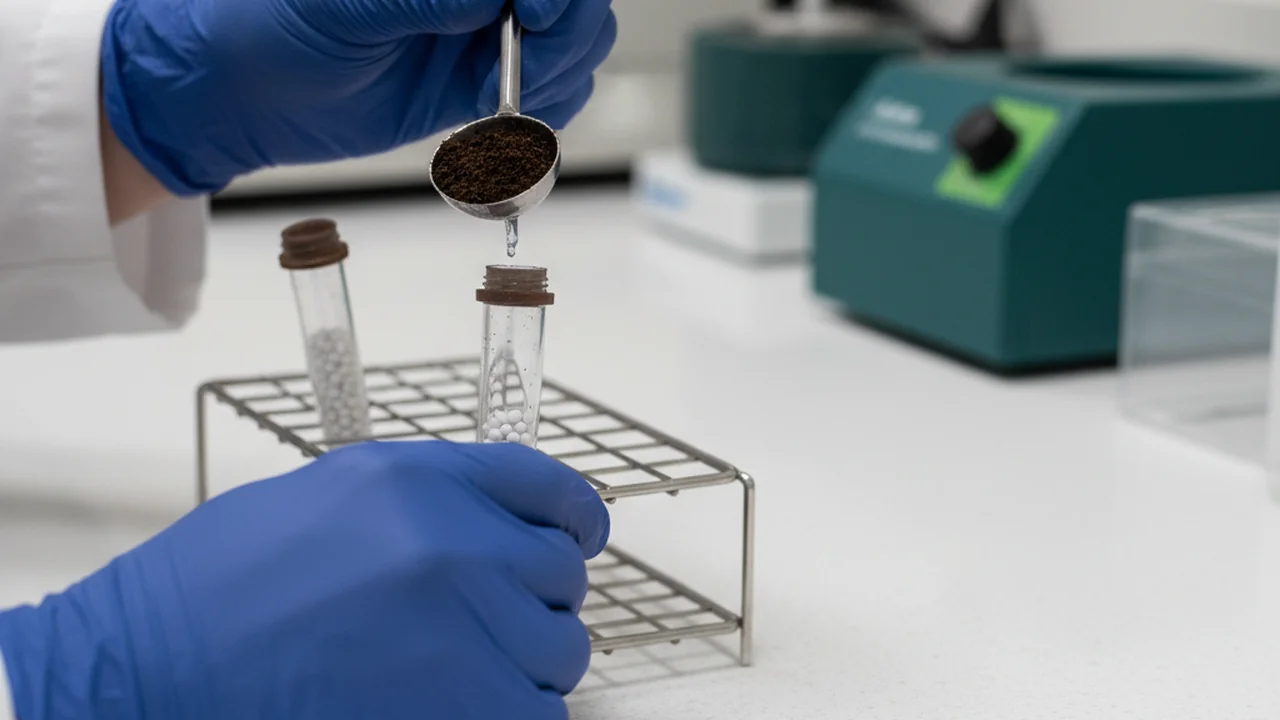
The protocol begins with the precise transfer of 250 mg of soil into a brown cap bead tube. Following this, lysis buffer is carefully pipetted into the tube. This crucial buffer helps to break open the cell walls and membranes, initiating the release of DNA into the solution.
A solution containing detergents, enzymes, and salts designed to break open cell membranes and walls, releasing intracellular components, including DNA, into the surrounding solution.
Why is it important to use a precise amount of soil and lysis buffer at this initial stage?
Mechanical Disruption
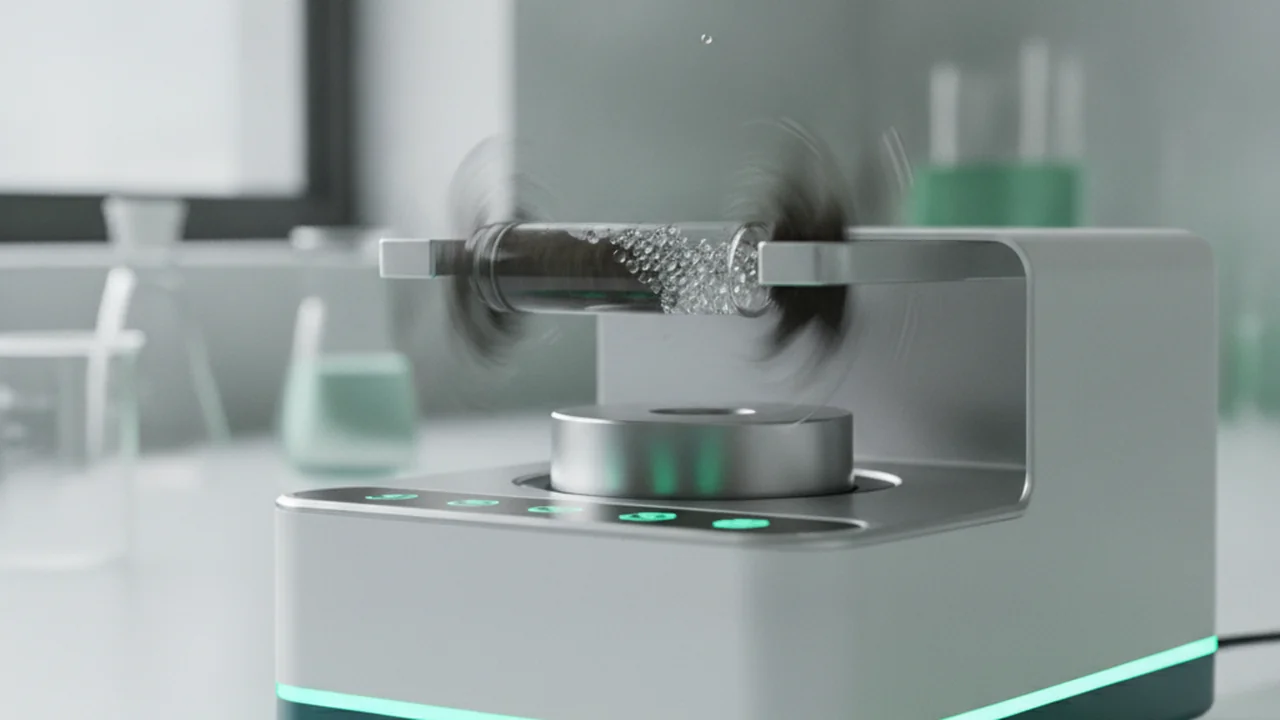
Next, the bead tube undergoes intense vortexing, depicted with an animation showing vigorous shaking. A cutaway view reveals the tiny beads colliding forcefully with the sample. This mechanical force is vital, as the beads physically disrupt the cells, further aiding in the release of genetic material from their tightly packed structures.
Clarification and Proteinase K Treatment
Following mechanical disruption, the sample is subjected to a centrifuge spin to separate solid debris from the liquid phase. A portion of this clarified liquid layer is then transferred into a new tube containing Proteinase K. The incubator warms to 65°C, providing optimal conditions for this enzyme to act. Proteinase K is an enzyme that helps break down proteins, which could otherwise contaminate the purified DNA sample.
A broad-spectrum serine protease that is stable over a wide pH range and active in the presence of detergents. It’s used in DNA extraction to digest proteins, including nucleases, that could degrade DNA or interfere with downstream applications.
- Mechanical disruption uses physical force to break open cells.
- Lysis buffer and Proteinase K use chemical and enzymatic action to release DNA and remove proteins.
Binding Bead Mix
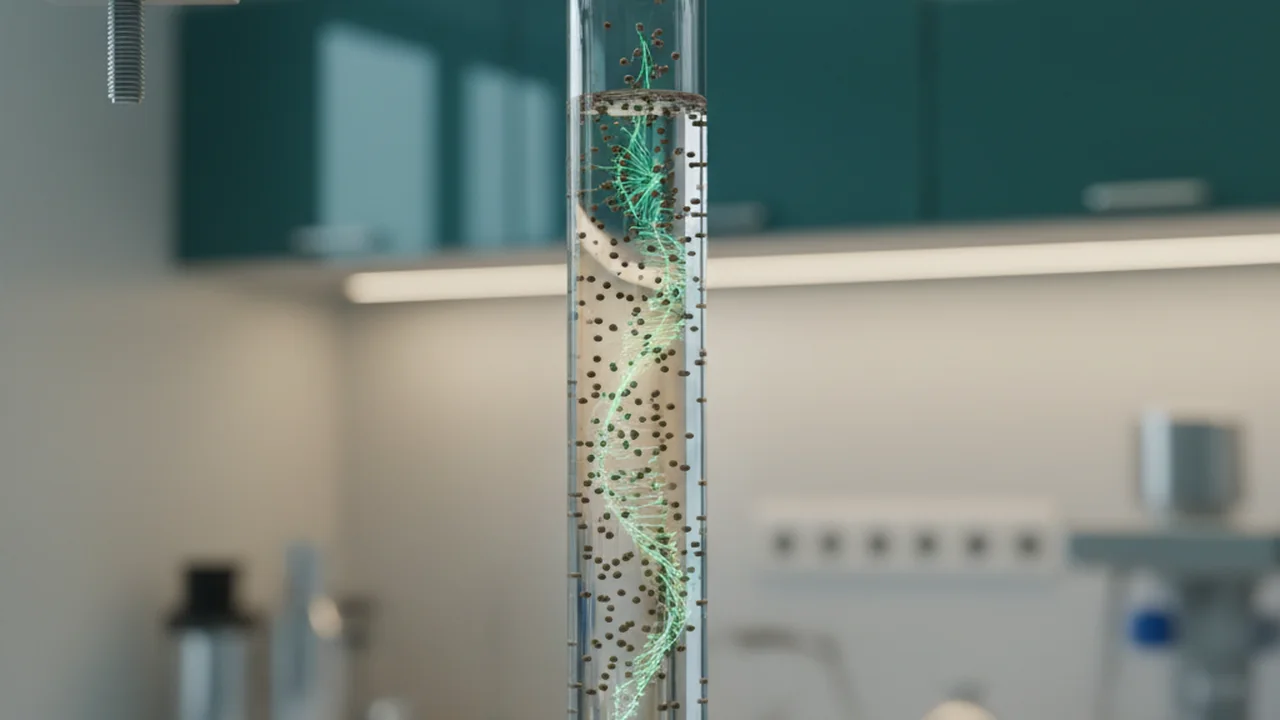
A binding bead mix is then introduced, causing magnetic beads to swirl through the liquid. As they move, DNA strands attach to their surfaces. From this point onward, the DNA is no longer simply floating freely in solution; it is now captured and concentrated on the surface of these magnetic beads, making it amenable to subsequent purification steps.
Want to go deeper? The science behind magnetic bead DNA binding…
Magnetic beads are typically coated with a silica-based matrix or other proprietary chemistry that selectively binds DNA. This binding is often facilitated by high salt concentrations and specific pH conditions. In these conditions, DNA becomes dehydrated and interacts with the bead surface through electrostatic forces and hydrogen bonding. Proteins and other contaminants, being less soluble or having different charge properties, remain in solution. This selective binding allows DNA to be captured and then released under different conditions (e.g., lower salt, higher pH, or specific elution buffers).
Magnetic bead technology has revolutionized DNA extraction, making it faster, more scalable, and less reliant on hazardous organic solvents compared to traditional methods. This allows for high-throughput processing in research and diagnostic labs.
Magnet and Wash Cycles
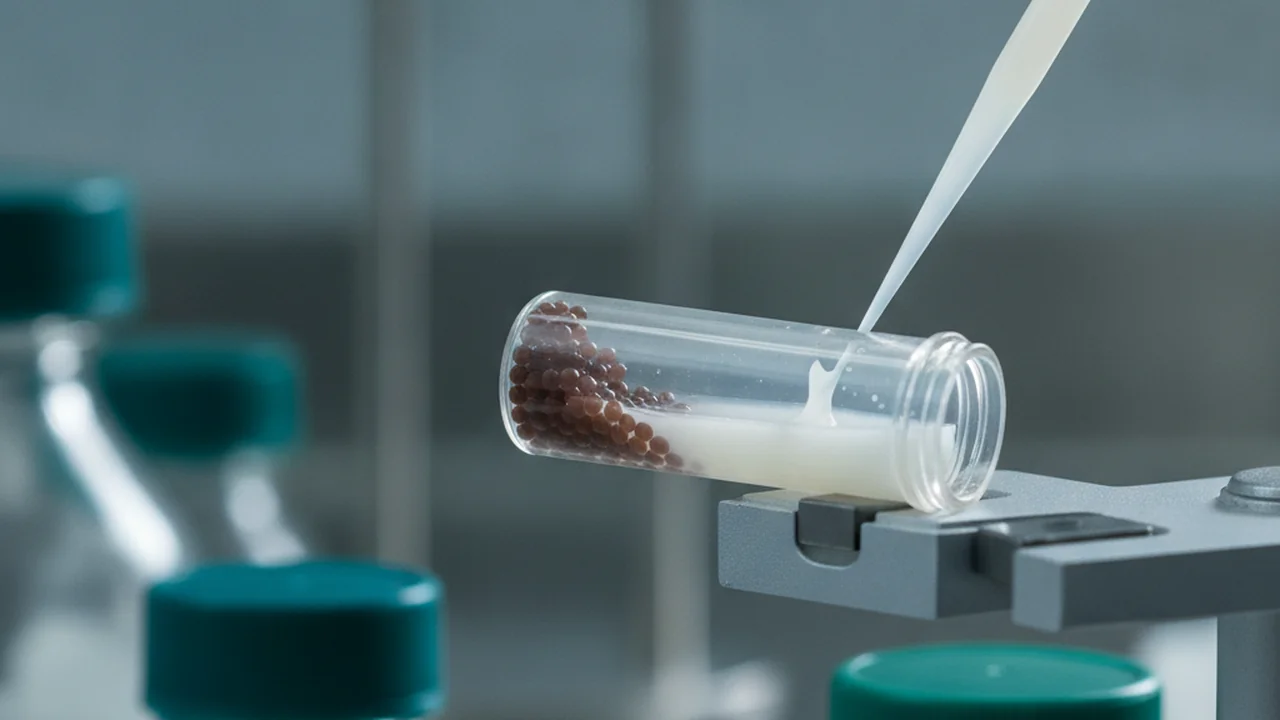
The tube is then placed on a magnet stand. The magnetic field pulls the DNA-bound beads to the side of the tube, forming a pellet. This allows the unwanted liquid, or supernatant, to be carefully removed while the precious DNA remains captured on the beads. This is followed by a series of wash steps, typically involving wash buffer and ethanol. These crucial steps effectively remove salts, proteins, and other contaminants that could interfere with downstream DNA applications, ensuring a purer DNA sample.
Consider the importance of thorough washing. What problems might arise if contaminants are not sufficiently removed?
Elution and DNA Measurement
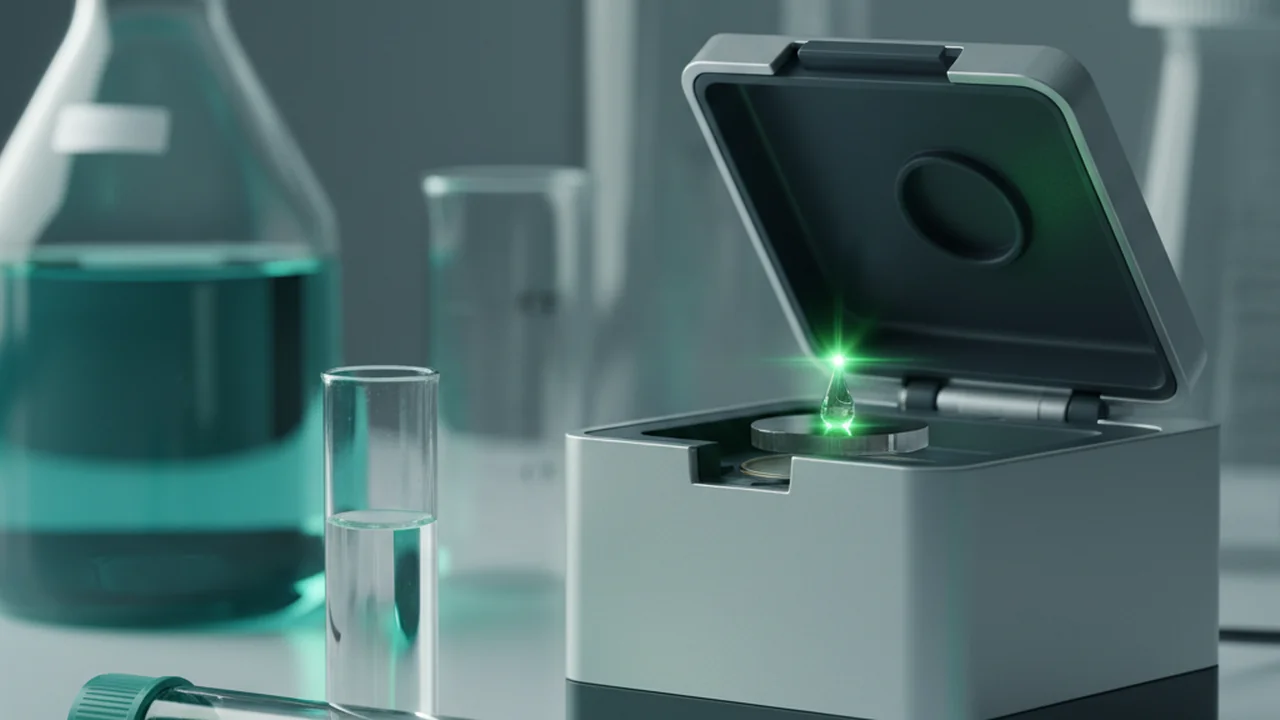
After the wash cycles, the purified DNA needs to be released from the magnetic beads. This is where the elution process comes into play, followed by quality control measurements to assess the success of the extraction.
- Add 50 µl of elution buffer: A small volume of elution buffer is added. This buffer is designed to release the DNA from the magnetic beads, typically by altering pH or ionic strength.
- Gently resuspend beads: The beads are gently mixed to ensure they are fully immersed in the elution buffer, maximizing the contact surface for DNA release.
- Incubate at 75°C for 5 minutes: Heating the sample helps to further encourage the DNA to dissociate from the beads and dissolve into the elution buffer.
- Place on magnet until eluate is clear: The tube is again placed on the magnet stand to pull the beads away, allowing the clear liquid containing the eluted DNA (the eluate) to be separated.
- Transfer liquid to a labeled 1.5 ml tube: The purified DNA solution is carefully transferred to a new, labeled tube (with Name, Date, DNA, and Sample info) to prevent contamination and ensure proper tracking.
- Measure DNA concentration and 260/280 ratio; record on tube: The final step involves quantifying the DNA and assessing its purity. DNA concentration indicates the amount of DNA obtained, while the 260/280 ratio provides an indication of protein contamination. These values are critical for downstream applications and are recorded directly on the tube.
A measure of nucleic acid purity. A ratio of ~1.8 for DNA is generally accepted as “pure” DNA. Lower ratios can indicate protein contamination, while higher ratios might suggest RNA contamination.
In environmental metagenomics, the quality and quantity of extracted DNA directly impact the success of sequencing and subsequent bioinformatics analyses. A pure, high-yield DNA sample ensures that researchers can accurately characterize the microbial diversity and functional potential of an ecosystem without interference from inhibitors or degradation.
DNA extraction is a simple, straightforward process where you just “break open cells” and get pure DNA.
DNA extraction is a multi-step, carefully optimized process involving mechanical, chemical, and physical separations to overcome challenges like cell lysis, contaminant removal (proteins, salts, inhibitors), and DNA concentration, all while preserving DNA integrity.
Based on the extraction and elution steps, create a simplified flowchart or bulleted list that outlines the major stages of DNA extraction from soil, from initial sample loading to final DNA measurement. For each stage, briefly describe its purpose.
- Initial Sample Preparation & Lysis
- Mechanical Disruption
- Protein Digestion & Clarification
- DNA Binding to Magnetic Beads
- Washing for Purification
- DNA Elution & Measurement
Consider what would happen if any of these stages were skipped or performed incorrectly.
What is the primary function of the lysis buffer in the DNA extraction protocol?
DNA extraction is the process of freeing the DNA and separating it from the rest.
Why is elution buffer added and the sample incubated at 75°C during the final steps of DNA extraction?
Imagine you’re developing a new DNA extraction kit for a specific, challenging environment (e.g., highly acidic soil, deep-sea vents, or ancient permafrost). What unique challenges might you face, and how would you adapt the standard protocol steps (lysis, purification, elution) to overcome them?
Effective DNA extraction from complex environmental samples like soil requires a multi-stage process involving mechanical cell disruption, chemical lysis, enzymatic protein degradation, magnetic bead-based purification, and precise elution to yield high-quality DNA suitable for metagenomic analysis.